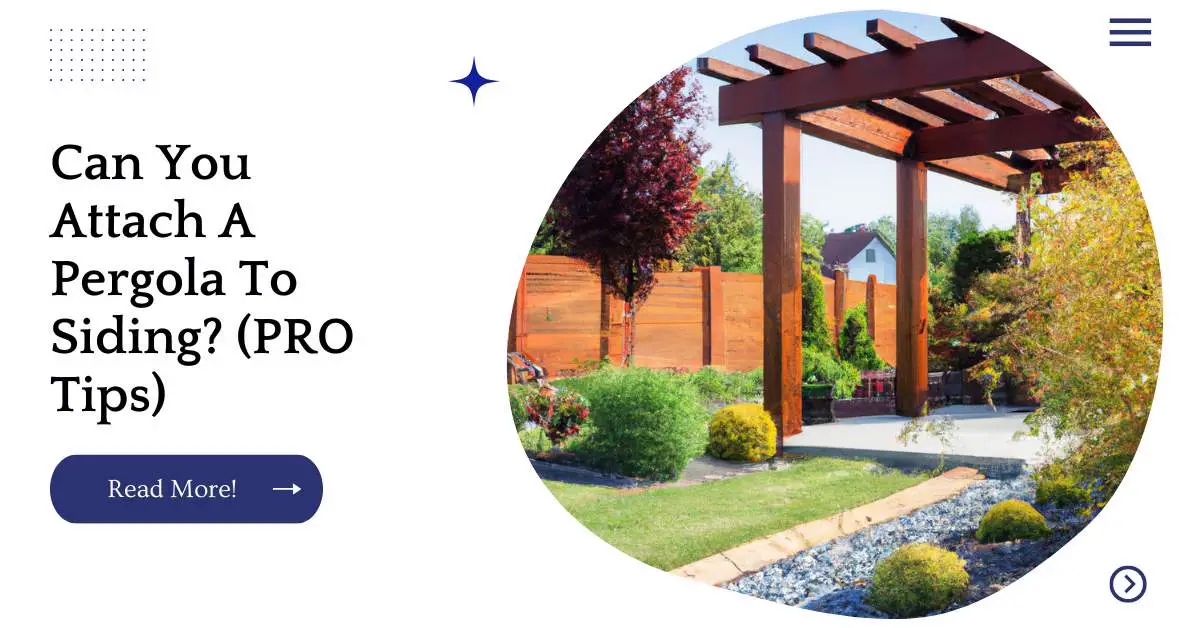
A pergola is a structure that provides shade, extra storage space, and privacy. It can be built on your own or added to an existing deck or patio.
Pergolas are typically made of wood, but they can also be constructed out of other materials such as steel or PVC.
The easiest way to attach your pergola to your home is by using simple brackets attached directly to the siding of your home; however, there are several ways this can be done depending on what type of material you choose for your pergola frame and how much work you want to put into attaching it securely.
| Takeaways |
|---|
| Attaching a pergola to siding requires proper techniques and considerations. |
| It is essential to ensure that your siding is structurally sound and capable of supporting the additional weight. |
| Different methods, such as ledger board attachment and through-bolting, can be used to attach a pergola to siding. |
| Reinforcing the area of the siding may be necessary to provide additional strength and support. |
| Consult local building codes and regulations to ensure compliance and obtain any required permits. |
Pergola Has A Number Of Benefits
A pergola is a great way to add shade to your yard, and in some cases it can also serve as a structure for entertaining or relaxing.
Pergolas are used as an extension of your home that can provide shade while still letting in plenty of light.
When it comes to attaching a canopy to a chuppah, proper techniques are crucial for a secure and elegant setup. Our comprehensive guide on attaching a canopy to a chuppah provides step-by-step instructions and expert tips to help you create a stunning ceremonial structure.
Understanding The Pergola Structure
A pergola is an arbor or trellis that provides shade by covering an area with its roof. Pergolas can be made from wood, but they’re usually constructed of metal or plastic. The structure is made up of beams and rafters, which are connected at the top by a header board.
The pergola’s design allows air to flow through it more easily than a solid structure, making it more comfortable to sit in during hot weather. It also provides privacy for your yard and can serve as a decorative element for your landscaping design.
You might be wondering whether attaching a pergola directly to your house would eliminate the benefits of these structures—but don’t worry! You can attach one directly to your siding without losing any function or aesthetic appeal!
Decide On The Design And Shape Of Your Pergola
Now that you’ve found the right spot for your pergola, it’s time to decide on the design and shape of your pergola.
First, think about how you want it to fit into your space. Do you have a large yard? If so, consider building an open-air structure with plenty of room for people to sit or stand under its shade.
Or perhaps there are only a few trees where you live; maybe then a smaller pergola would be more appropriate for your needs.
Next up: aesthetics. What type of look do you want? Would an ornate wooden trellis be too fussy for your tastes? Perhaps something simple would suit better—why not consider aluminum poles instead?
These can also come in different shapes (square tubing vs rectangular tube), which will affect how much light filters through as well as maintenance requirements like painting every few years or replacing damaged sections over time due to weathering effects (UV rays).
Curious about the possibility of putting a tent over a pergola? Discover the answer and learn how to create a cozy outdoor space by checking out our article on putting a tent over a pergola. Find inspiration and practical advice to transform your pergola into a versatile shelter for various activities.
Choosing The Best Material For Your Pergola
Choosing the best material for your pergola can be a complicated process, but it’s important to consider factors like durability, cost and aesthetics.
The table below offers some suggestions on what type of material you might want to consider.
Wood is one of the most common materials used in outdoor projects like pergolas because it’s easy to work with and fairly durable.
However, depending on where you live and how often the structure will be exposed to weather conditions like rain or snowstorms, wood may not hold up as well as other types of materials.
Also keep in mind that wood may need some maintenance such as staining every few years if left untreated or painted with water-resistant finishes.
It’s also worth noting that wood is susceptible to rot when its surface becomes moist from rainwater runoff (especially if it doesn’t have drainage installed underneath).
Aluminum isn’t as popular as other types of metals because it can corrode over time due to moisture exposure which means aluminum won’t last forever without proper care but will last longer than many other materials when properly maintained (for example painting surfaces regularly).
In addition aluminum is lightweight compared with steel so installation costs may not be too high either – although aluminum does tend toward higher prices per square foot due to increased labor costs associated with manufacturing processes needed before production starts up again each year.
Fiberglass/Composite panels offer similar advantages over traditional glass panes since they’re more durable than acrylics while still providing excellent insulation properties
Measure The Area You Want To Install The Pergola In
Measure the area you want to install the pergola in. Make sure you have enough space. If not, you may need to install a smaller pergola or just take down your existing one.
If you do have enough space, measure how much larger than your desired size that your new pergola will be. You can always go bigger rather than smaller if needed!
| Measurement | Description |
|---|---|
| Tape Measure | Essential tool for accurately measuring the dimensions of the installation area. |
| Milwaukee Laser Distance Meter | Advanced laser meter for quick and precise measurements of larger spaces. |
| DeWalt Digital Angle Finder | Digital angle finder for measuring angles and ensuring proper alignment of the installation area. |
| Stanley Stud Sensor | Stud sensor for locating wall studs and other hidden obstacles in the installation area. |
| Ryobi Laser Level | Laser level tool for achieving accurate horizontal and vertical lines during installation. |
Attach The Header Boards To The Ledger Board
Once you’ve nailed the header boards to your ledger board, it’s time to attach them to each other. Use a nail gun on the outside of each header board and drive two nails through both boards at every joist location.
As you’re doing this, make sure that you are keeping everything in line with your plans and not placing any nails too close together or missing any holes.
If you prefer not to use nails when attaching siding boards together, screws work just as well (and will be easier for taking apart later if necessary).
Before attaching them with screws, mark where each screw needs to go using a pencil so that your lines are straight and even across all boards being attached.
Then drill pilot holes at each mark before driving in screws using an electric screwdriver or manual drill.
Make sure that these holes are big enough so that they don’t split when tightened down; typically around ¼ inch works well for this purpose on softwood siding like cedar planks but try larger diameters if using hardwoods like oak or pine.
Looking to add a protective covering to your pergola? Find out if a plastic roof is a suitable option by reading our informative guide on putting a plastic roof on a pergola. Learn about the benefits, considerations, and installation techniques to enhance your pergola’s functionality and weather resistance.
Install Vertical Beams On The Ledger Board
To install the beams, you’ll need to get your ledger board level. This can be done by using a laser level or simply by marking where it’s even and then driving nails into the siding at each end of the board.
If you don’t already have a pergola attached to your house, you may need to measure from existing eaves or windows in order to determine where on your home this will go.
Once it’s all level, use wood screws and glue (or nails) to attach one side of each vertical beam. We recommend using three beams spaced evenly apart along each side of the roofline; they should fit just below where your rafters line up with the top of your house’s siding so that they’re completely hidden from view when viewed from inside.
Install Rafters At An Angle On Top Of A Ledger Board
When attaching your pergola to the side of your home, you will need to install rafters at an angle on top of a ledger board.
Before doing so, you can use a rafter square to mark the angle and find the proper length for each piece.
You should also measure out from each corner and make pencil marks where they intersect with the ground.
Once you have these measurements down, it’s time to cut all of your pieces! If they are already cut at 45° angles (as is most likely), make sure that they are still long enough to reach over from one side of your house to another—they should be between 16”-20″ long depending on how far apart your corners are spaced out along the siding at either end (a few inches less if possible).
Attach each piece using two screws through pre-drilled holes every foot or so until all four sides are complete!
| Installation Option | Description |
|---|---|
| Simpson Strong-Tie LSC Adjustable Rafter Hanger | Versatile rafter hanger that allows for easy and secure installation of rafters at an angle. |
| OZCO Building Products Angle Flush Mount Bracket | Sturdy bracket designed for angled rafter installation, providing structural support and stability. |
| TimberLOK Heavy-Duty Wood Screw | Heavy-duty screw designed for secure attachment of angled rafters to a ledger board. |
| Makita Cordless Framing Nailer | Cordless framing nailer for efficient and precise installation of angled rafters with ease. |
| DEWALT Compound Miter Saw | Compound miter saw with adjustable angles for accurate and clean cuts when trimming rafters at an angle. |
Cut Notches In Your Rafters
The next step is to cut notches in the rafters. A notch is simply any space that is cut out of a rafter, so that you can fit a piece of wood into it.
Notches are necessary because they allow you to attach the pergola’s structure (the horizontal beams) directly to your siding without drilling holes or causing damage to your home’s exterior surface by driving screws through it.
You can make these notches with either a circular saw or jigsaw. If using a circular saw:
Set up your saw on its side for making vertical cuts; this saves time and effort since this method does not require measuring from below like traditional setups do
Make sure that all measurements are exact – if they aren’t perfect then there will be gaps between each piece of wood as well as air pockets around them which can lead to cracking over time
Is your canopy top in need of reinforcement? Our easy tips on reinforcing a canopy top will help you prolong its lifespan and ensure stability during outdoor events. Discover effective methods and materials to strengthen your canopy, making it more durable and reliable.
Add Shade To Your Pergola
Shade cloth. This can be as simple as a piece of material put over the pergola, or it can be more complex, with decorative panels that match your home’s exterior.
Awnings and umbrellas are other ways to add shade to your pergola without needing to do major construction work on the structure itself.
If you don’t want to buy any extra accessories or materials, consider using an old canvas tarp instead. It’ll provide protection from the sun but won’t look as good when installed compared with other methods of providing shade
| Shade Option | Description |
|---|---|
| Retractable Canopy | Canopy that can be easily extended or retracted as needed for adjustable shade. |
| Shade Sail | A fabric sail that can be attached to the pergola structure for stylish and customizable shade. |
| Pergola Cover Kit | Specifically designed covers that provide shade and protection for your pergola. |
| Pergola Awning | A retractable awning system that can be installed on top of the pergola for adjustable shade. |
| Pergola Curtains | Fabric curtains that can be hung around the pergola for added shade and privacy. |
Buy Accessories For Your Pergola
You can also add accessories to your pergola. You might want a railing, for example, or a ceiling.
Or maybe you’d prefer a light fixture so that you have more than just the shade of your pergola to provide lighting after dark. If privacy is important to you, consider adding a screen as well!
Maintaining and treating a gazebo canopy is essential to preserve its beauty and longevity. Our pro tips on treating a gazebo canopy cover cleaning, waterproofing, and general care practices. Follow our expert advice to keep your gazebo canopy looking its best season after season.
Conclusion
If you want to add a pergola to your home, do it. It’s an excellent way to get some shade, add some space and character.
You can also use it as a place where you can relax with your friends or family members. If you have any questions about this project or any other project, don’t hesitate to contact us today! We would love to help!
Further Reading
Here are some additional resources for further reading on attaching a pergola to siding:
Attaching a Pergola or Deck to Vinyl Siding: This forum thread on DIY Stack Exchange provides insights and tips from users who have experience attaching pergolas or decks to vinyl siding. It’s a valuable resource for gaining practical knowledge and learning from others’ experiences.
How to Attach a Pergola to a House: This article from Angie’s List offers step-by-step instructions and guidance on how to properly attach a pergola to a house. It covers different attachment methods and provides useful insights for a successful installation.
How to Build an Attached Pergola to Vinyl Siding: DoItYourself.com presents a detailed guide on building an attached pergola specifically designed for vinyl siding. It includes instructions, tips, and considerations to ensure a sturdy and secure attachment.
FAQs
Here are some frequently asked questions about attaching a pergola to siding:
How do I determine if my siding is suitable for attaching a pergola?
Before attaching a pergola to your siding, it’s important to ensure that your siding is structurally sound and capable of supporting the additional weight. Consider consulting a professional or checking with the manufacturer of your siding for specific guidelines and recommendations.
What are the different methods for attaching a pergola to siding?
There are several methods for attaching a pergola to siding, including ledger board attachment, through-bolting, and using special brackets. The choice of method may depend on factors such as the type of siding, the structure of your house, and the specific design of your pergola.
Do I need to reinforce my siding before attaching a pergola?
In some cases, reinforcing the area of the siding where the pergola will be attached may be necessary to provide additional strength and support. This may involve adding blocking or reinforcement to the underlying structure behind the siding. Consult a professional if you are unsure about the stability of your siding.
What tools and materials are needed for attaching a pergola to siding?
The tools and materials required may vary depending on the attachment method and the specific requirements of your project. Common tools may include a drill, screws or bolts, a level, a tape measure, and a saw. Refer to the instructions provided by the manufacturer or the specific attachment method you choose.
Are there any permits or regulations I need to consider when attaching a pergola to siding?
Local building codes and regulations may require permits or inspections for attaching structures to your home’s siding. It’s essential to check with your local authorities to ensure compliance with any applicable regulations before starting the installation process.

I am Hellen James, a professional handywoman with expertise in improving home and garden spaces by using pergolas, gazebos, and tents.
