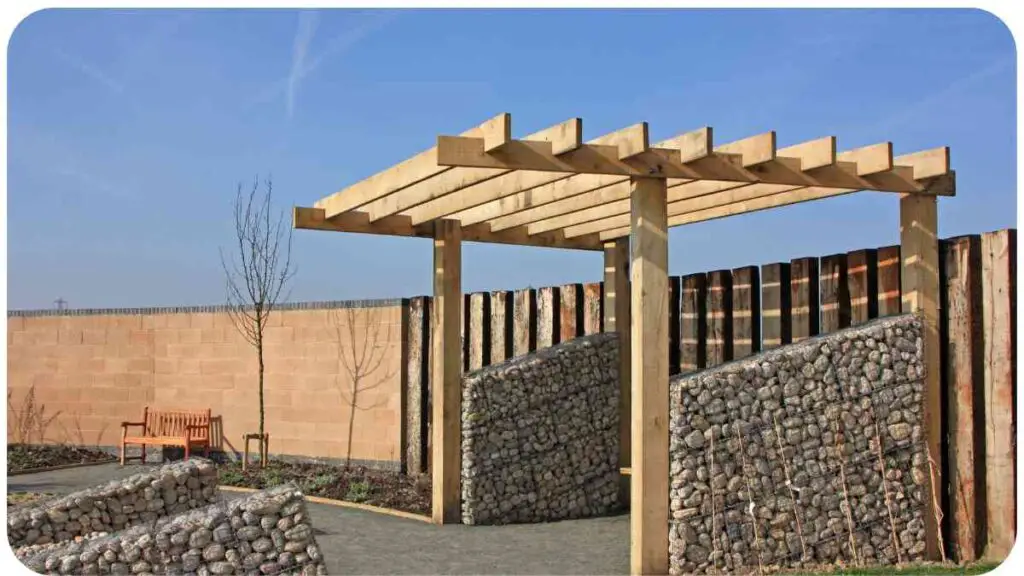
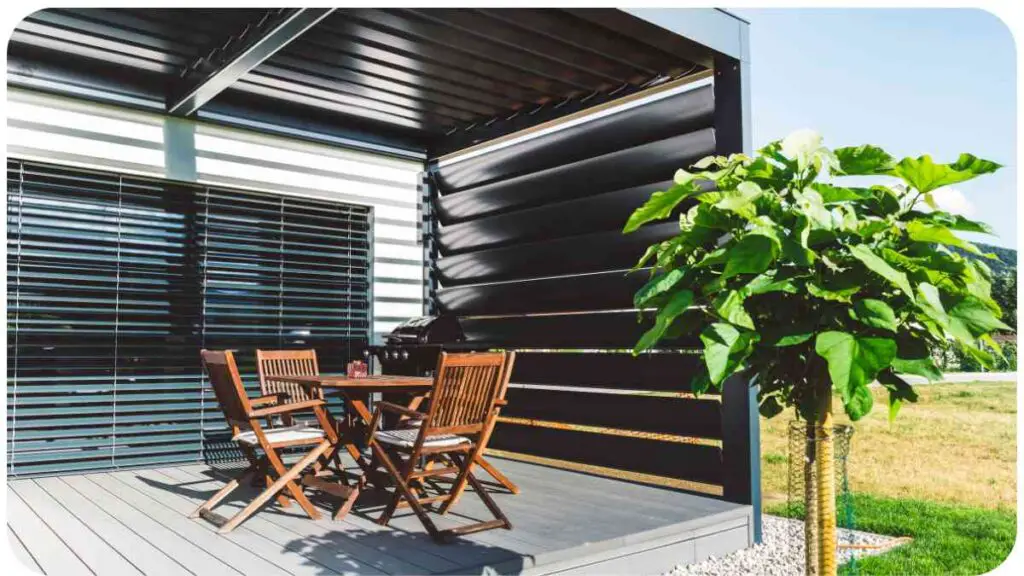
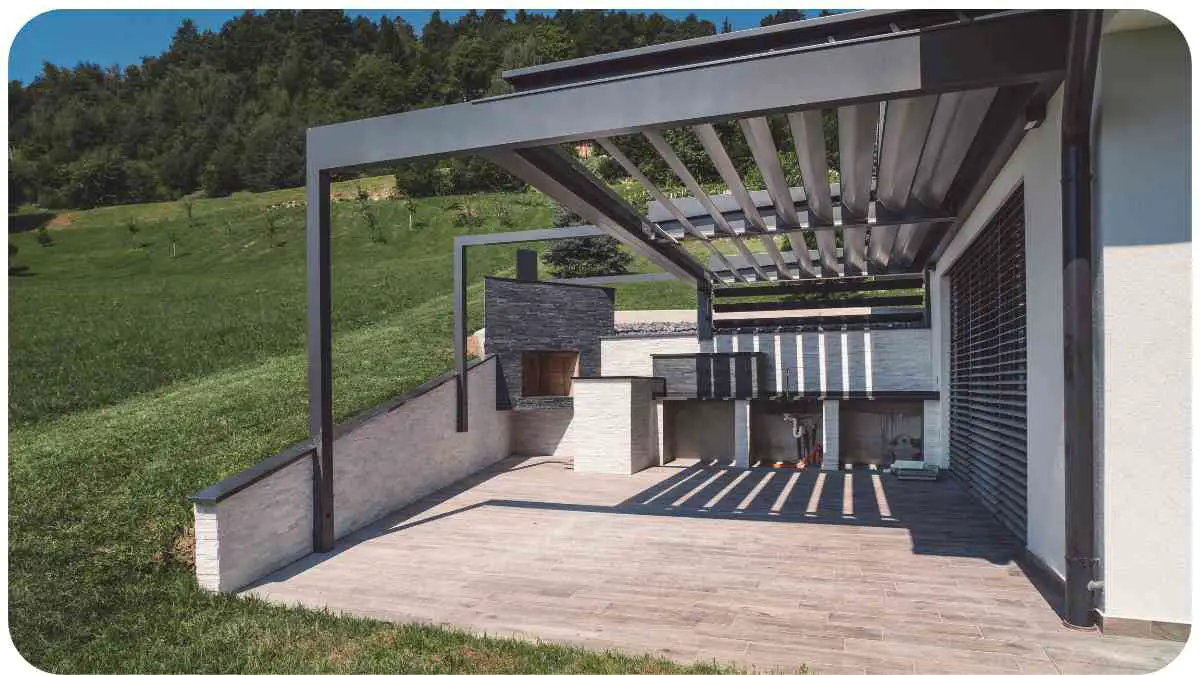
Installing a pergola on grass offers a charming addition to your outdoor space, enhancing its beauty and functionality. Discover the essential steps and considerations for creating a sturdy and appealing pergola setup without the need for concrete.
From clearing the area to adding decorative touches, this guide ensures your pergola stands the test of time while harmonizing with your lawn. Learn how to achieve stability, drainage, and aesthetic appeal while optimizing your outdoor living experience.
| Takeaways |
|---|
| Placing a pergola in grass is feasible but has considerations and challenges. |
| Proper anchoring and stability are crucial for pergolas installed on grass. |
| Potential issues include stability concerns and interference with grass growth. |
| Protecting the grass with ground covers or gravel can help prevent damage. |
| Moving a pergola installed on grass may require dismantling and reinstallation. |
Prepare the Ground: Ensuring a Solid Foundation
Before embarking on your pergola project, the initial step involves clearing the designated area for optimal construction. Follow these essential guidelines to prepare the ground effectively:
- Debris Removal:
- Eliminate any debris, including loose grass, leaves, and weeds, from the soil surface. This provides a clean canvas for your pergola and prevents potential interference with the structure’s stability.
- Leveling with a Rake:
- Utilize a rake to smooth out prominent bumps in the sod, creating a flat and level surface. This foundational step ensures stability and enhances the overall aesthetic of your pergola.
- Object Inspection:
- Thoroughly inspect the cleared area for potential obstacles like rocks or tree roots that could impede the pergola’s placement. Identifying and addressing these elements in advance prevents complications during construction.
- Nail and Screw Check:
- Examine the lawn for any protruding nails or screws, remnants of prior projects. Safeguard your construction process by either removing these hazards or securely covering them with dirt, minimizing the risk of injuries or equipment damage.
With the ground meticulously prepared, you can proceed confidently to the construction phase, laying the groundwork for a sturdy and visually appealing pergola.
When it comes to attaching a canopy to a chuppah, proper installation is key. Our comprehensive guide on how to attach a canopy to a chuppah provides expert tips and step-by-step instructions to ensure a secure and stylish canopy setup for your special occasion.
Excavate Holes for Sturdy Foundations
The next crucial step in constructing your pergola is digging holes for the base logs. This process, while straightforward, demands careful attention and precision for optimal results. Follow these guidelines to ensure a level and stable foundation for your pergola:
- Determining Location:
- Identify the desired location for the holes based on project requirements. Mark the spots using stakes, paint, or other markers for accurate placement.
- Utilizing Digging Tools:
- Employ appropriate digging tools such as shovels, post hole diggers, or augers to excavate the soil. Choose tools that suit the scale of your project and facilitate efficient hole creation.
- Checking Depth:
- Verify the depth of the holes according to specifications or project needs. Generally, a depth of at least four feet is recommended to ensure the logs end up a minimum of six inches below ground level, promoting stability and longevity.
- Removing Excess Soil:
- Clear any excess soil or debris from the holes to establish a clean and even surface. This step is crucial for the proper placement of the base logs and overall stability of the pergola.
- Plumb Line for Precision:
- Enhance precision by using a plumb line—a weighted string with a weight attached at one end. This tool helps ensure that the holes are straight and aligned with the intended plan, contributing to the levelness of the pergola.
| Action | Description |
|---|---|
| Determine location | Identify the desired location for the holes based on the project requirements. |
| Mark | Mark the spot where the holes will be dug using stakes, paint, or other markers. |
| Use digging tools | Utilize digging tools such as shovels, post hole diggers, or augers to excavate the soil. |
| Check depth | Verify the depth of the holes according to the specifications or project needs. |
| Remove excess soil | Remove any excess soil or debris from the holes to ensure a clean and even surface. |
Ensure Proper Drainage with Gravel Layering
With the groundwork set for your pergola, the addition of a gravel layer becomes a pivotal step to facilitate efficient drainage. Follow these steps to ensure optimal drainage and stability for your pergola:
- Framework Readiness:
- Once your pergola framework is prepared, shift your focus to the crucial aspect of drainage. A well-constructed framework coupled with effective drainage promotes the longevity of your outdoor structure.
- Choose Gravel for Drainage:
- Gravel plays a vital role in preventing water pooling and directing water seepage into the soil. Select gravel as it acts like a well-oiled machine, maintaining a balanced and stable foundation for your pergola.
- Consider Larger Stones for Grass Areas:
- For grassy areas, opt for larger-sized stones, such as 4″ stones, to facilitate drainage without the risk of clogging from soil or mulch particles. This choice ensures efficient water flow through the gravel layer.
- Initial Layer Application:
- Begin by spreading an initial layer of gravel on top of the base material. Ensure a minimum depth of 2″ for effective drainage. Use a heavy object, like a rock, to compact the gravel layer, promoting stability.
- Layering Process:
- Repeat the process by adding more base material over the initial gravel layer. Continue layering with another 2″-3″ deep layer of compacted gravel around the edges of the base material.
Curious about the possibility of placing a tent over a pergola? Our informative article on can you put a tent over a pergola explores the practicality and potential advantages of combining these outdoor structures, offering insights and considerations for your next outdoor adventure.
Secure Your Pergola: Proper Installation of Posts and Anchors

The stability of your pergola hinges on the careful installation of posts and anchors. Follow these meticulous steps to ensure a secure and well-balanced foundation:
- Level Your Posts:
- Confirm the levelness of the posts by using a spirit level or measuring the distance from the middle of each post foot to the ground. If variations exist, employ shims under one side of each post until they are even, ensuring a level base for the pergola.
- Check for Plumb Posts:
- Ensure the posts are plumb or vertical. Use an adjustable bubble level or mark a line on each post at ground level. Measure and make necessary adjustments to guarantee the upright position of the posts.
- Verify Straightness:
- Confirm that the posts are both straight and vertical. Any slight leaning can complicate the installation process and compromise the structural integrity, particularly in windy conditions.
- Dig Adequate Holes for Anchors:
- Dig holes for your anchors with a depth of at least 2 feet into compacted soil. In areas with minimal moisture, a depth of 1-2 inches may suffice. Add 5-10 inches of gravel inside the holes to prevent water seepage, avoiding corrosion of bolts or screws within the anchors. This step also helps prevent masonry blocks from shifting due to soil movement.
Create a Sturdy Foundation: Building a Level Concrete Pad
Elevate the stability of your pergola by constructing a level and smooth concrete pad. Follow these essential steps to ensure a reliable base for your outdoor structure:
- Leveling the Concrete:
- Confirm the evenness of your concrete pad by using a level. Carefully check the surface to ensure it is level all around, laying the groundwork for a stable and balanced foundation.
- Address Bumps and Dips:
- If bumps or dips are present in the concrete slab, use a trowel to smooth them out. Employ small circular motions to create a level and uniform surface, enhancing both the aesthetics and functionality of the concrete pad.
- Anchor Placement:
- Integrate anchors into the concrete pad to facilitate the attachment of pergola posts and hardware. Properly placed anchors contribute to the stability and durability of the overall structure.
- Drill Holes with a Masonry Bit:
- Utilize a masonry bit to drill holes into the ground where each anchor will be installed. This step is crucial to prevent anchor stripping during installation, ensuring a secure connection between the anchors and the ground.
- Secure Anchors in Place:
- Insert each anchor fully into its designated location, ensuring a secure and snug fit. The anchors should be firmly holding up their respective posts or supports, providing a solid foundation for the subsequent installation steps.
Achieve Precision: Leveling Your Wooden Beams

The key to a visually appealing and structurally sound pergola lies in the precise leveling of wooden beams. Follow these steps to ensure uniformity and balance in your pergola construction:
- Laser Level for Precision (Optional):
- For meticulous accuracy, consider using a laser level when attaching your wooden beams to the posts. This tool ensures that all beams are at the same height, contributing to a visually seamless and professionally crafted pergola.
- Alternative: Spirit Level Check:
- If a laser level is not available, use a spirit level to verify that each wooden beam is level with the ground. This step is crucial for achieving a balanced and stable pergola structure.
- Confirm Uniform Height:
- Whether using a laser level or a spirit level, confirm that all wooden beams share a uniform height. Consistency in height not only enhances the aesthetics of the pergola but also contributes to its overall structural integrity.
- Secure Beams in Place:
- Once the leveling is confirmed, proceed to secure the wooden beams in place. Whether using nails or screws, ensure a secure and stable attachment to the posts, creating a robust framework for the pergola.
Looking to enhance your pergola with a plastic roof? Discover the benefits and considerations of adding a plastic roof to your pergola in our helpful guide on can you put a plastic roof on a pergola. Learn about different materials, installation methods, and how a plastic roof can transform your pergola into a versatile and weather-resistant space.
Enhance Structure Stability: Adding Joists to Your Pergola
Continue fortifying your pergola by seamlessly incorporating joists into the structure. Follow these steps for a well-integrated and sturdy design:
- Cut Joists to Size:
- Precision is key; cut the joists to the appropriate size, ensuring they seamlessly integrate into the overall structure. This meticulous step contributes to the stability and aesthetic appeal of your pergola.
- Check Structure Levelness:
- Before finalizing the joist installation, confirm that the entire structure is level. Utilize a spirit level to ensure uniformity, providing a solid foundation for the upcoming stages of your pergola construction.
- Determine Pergola Placement:
- Decide on the ideal location for your pergola within the garden. Consider factors such as sunlight exposure, surrounding structures, and aesthetic preferences. This decision sets the stage for a pergola that complements its environment.
- Select Color Scheme:
- Enhance the visual appeal of your new space by choosing a color scheme. Consider the color of the pergola itself, as well as any additional elements like plants and lighting. This step allows you to personalize your pergola and create a cohesive outdoor design.
- Prepare Planting Area:
- Start preparing the designated area for planting beneath the pergola. Ensure there’s sufficient room between the pergola and surrounding structures. Exercise caution not to remove too much soil, preserving the stability of the ground
Complete the Frame: Cutting and Installing Rafters
Advance the construction of your pergola by adding the essential rafters. Follow these steps to ensure a robust frame and a visually pleasing structure:
- Cut Rafters to Size:
- Utilize a saw to cut the rafters to the appropriate size. These crucial components will form the top frame of your pergola, resting on the posts. Ensure they are long enough to overlap by at least two feet, contributing to the overall stability of the frame.
- Screw Rafters to Posts:
- Secure each rafter onto one end of its corresponding post using screws. Aim for approximately four screws per connection point. Choose screws that are long enough to penetrate through both the rafter and the post, creating a durable and lasting bond between the two elements.
- Optimal Overlapping:
- Verify that the rafters overlap by at least two feet. This overlapping design enhances the structural integrity of the frame, providing essential support for the pergola.
- Permanent Fastening:
- Ensure the use of screws that are not only long enough but also sturdy. These screws play a crucial role in permanently holding the rafters and posts together. Optimal fastening contributes to the long-term stability of the pergola frame
| Action | Description |
|---|---|
| Measure and mark | Measure and mark the appropriate length and angle for the rafters. |
| Cut | Use a saw or appropriate cutting tool to cut the rafters to the desired size. |
| Position | Position the rafters according to the construction plans or design specifications. |
| Secure | Secure the rafters in place using nails, screws, or other appropriate fasteners. |
| Reinforce | Add additional support or reinforcement as needed for stability and durability. |
Enhance Aesthetics and Functionality: Adding Lattice or Shade Fabric to Your Pergola
Elevate the visual appeal and functionality of your pergola by incorporating lattice or shade fabric. Follow these steps for a polished and well-shaded outdoor space:
- Measure Each Side:
- Begin by measuring the area of each side of your pergola where you intend to install lattice or shade fabric. Precise measurements ensure a seamless fit and optimal coverage.
- Cut Lattice Pieces:
- Using a saw or an electric miter saw, cut the lattice pieces according to your measurements. If you’re unfamiliar with the cutting process, seek assistance from your local home improvement store for expert guidance.
- Secure Lattice in Place:
- Nail the cut lattice pieces in place, ensuring they cover the designated areas effectively. Use nails that are of an appropriate length for safety reasons, preventing any protrusions that could pose a hazard.
- Professional Assistance:
- If you’re unsure about the installation process, don’t hesitate to seek advice from someone experienced, such as a friend or a professional. Proper installation guarantees the durability and effectiveness of the lattice or shade fabric.
- Uniform Appearance:
- Consider painting the lattice or shade fabric white to create a cohesive and uniform appearance that matches your house. This not only adds a touch of elegance but also ensures a seamless integration with your existing outdoor aesthetics.
Wondering if grass can grow under a pergola? Our in-depth article on can grass grow under a pergola provides insights into the interaction between a pergola and the underlying grass. Discover tips and considerations for maintaining a healthy lawn while enjoying the beauty and shade of a pergola.
Elevate Elegance: Enhancing Your Pergola with Decorative Touches

Once your pergola is constructed, add a touch of beauty and protection with these decorative enhancements:
- Infuse Color:
- Elevate the aesthetic appeal of your pergola by adding color. Paint the wood in vibrant hues or choose a stain for a more dramatic effect. Opt for weatherproof finishes to not only enhance the appearance but also protect the wood from the elements, including rain and snow.
- Seal for Protection:
- Apply a sealer to safeguard the wood from water damage. This protective layer helps prevent the paint from flaking off too quickly and ensures the longevity of your pergola. Consider the size of your pergola when choosing between paint and stain to facilitate easy touch-ups without the need for repainting the entire structure.
- Stain for Longevity:
- If your pergola is not too extensive, consider using stain instead of paint. Stain provides a rich finish while allowing for easier touch-ups in the future. This choice not only adds to the aesthetics but also simplifies maintenance, ensuring your pergola retains its beauty over time.
Ensure Stability: Checking Surface Level for Your Pergola
To guarantee the stability and balance of your newly installed pergola, follow these steps to check the level of the surface:
- Utilize a Leveling Tool:
- Choose a reliable leveling tool for accurate measurements. A laser spirit level or an analog level (like a carpenter’s bubble) can be obtained from home improvement stores. Having the right tool is crucial for obtaining precise readings.
- Establish a Reference Point:
- Place one end of the leveling tool against a fixed point on the same elevation as your standing position. Suitable reference points include a wall or a fence post. This initial setup is essential for accurate measurements.
- Align the Leveling Tool:
- Set up the leveling tool so that it appears straight across from the reference point. Walk around until you can observe an image of yourself through each end of the device. Adjust the leveling tool until these two images align perfectly side by side.
- Accurate Reading:
- Once the leveling tool is adjusted and aligned, it ensures an accurate reading when placed on the surface where your pergola is situated. This process accounts for gravity’s effect over time, ensuring consistent measurements under similar conditions.
| Check | Description |
|---|---|
| Level ground | Ensure that the ground where the object will be placed is level and even. |
| Spirit level | Use a spirit level to determine if the object is horizontally level. |
| Balance | Check if the object is balanced and not tilting to one side or another. |
| Adjustable feet | Objects with adjustable feet allow for fine-tuning and leveling if needed. |
| Shims or wedges | Shims or wedges can be used to level the object by filling gaps or spaces. |
Seasonal Maintenance: Protecting Your Pergola from Rot and Mildew

Ensure the longevity and beauty of your pergola by conducting thorough checks for rot and mildew every season. Follow these guidelines to safeguard your wooden structure from the elements:
- Comprehensive Inspection:
- Regularly inspect the foundation, posts, beams, rafters, and joists of your pergola for any signs of rot or mildew. A comprehensive examination allows for early detection and timely intervention.
- Vulnerability to Moisture:
- Wooden structures, including pergolas, are susceptible to decay when exposed to moisture from rain or dew. Be vigilant in addressing this vulnerability to prevent long-term damage to the wood.
- Identify Signs of Rot:
- Look for indications of rot, such as warped wood or areas showing signs of deterioration. Promptly replace any compromised wood with new lumber to halt the progression of rot and maintain the structural integrity of your pergola.
- Inspect Lattice or Shade Fabric:
- Examine the lattice or shade fabric of your pergola for cracks. These openings between the slats can allow water to seep into the structure, fostering mold growth within the wooden frame. Regular inspections enable timely repairs to keep your outdoor space appealing throughout the year.
If you’re part of a homeowner association (HOA) and considering installing a pergola, it’s essential to understand the guidelines. Our informative piece on are pergolas allowed in HOA explains the common regulations and considerations when it comes to adding a pergola to your residential community. Stay informed and make informed decisions for your outdoor living space.
Conclusion
With the construction phase completed, it’s time to ensure the meticulous alignment and finishing touches of your pergola. Follow these final steps to perfect your outdoor haven:
- Verify Structural Alignment:
- Check the level of each beam, joist, and rafter using a long level. Ensure that each component is perfectly aligned, forming a harmonious and stable structure. If any element deviates from the ideal right angle, use a saw to make precise adjustments until they are all straight.
- Enhance Aesthetic Appeal:
- Elevate the visual allure of your pergola by incorporating decorative touches. Attach lattice or shade fabric to provide additional charm and functionality. Consider optional embellishments like capstones to add a personalized and elegant touch to your outdoor space.
By meticulously assessing the structural alignment and adding aesthetic enhancements, your pergola transforms into a refined and inviting retreat. These final touches not only contribute to the visual appeal but also ensure the long-term stability and enjoyment of your outdoor haven. With these steps completed, you are ready to savor the beauty and comfort of your perfected pergola for years to come.
Further Reading
Here are some additional resources that you may find helpful:
Can You Put a Pergola on Artificial Grass?: Discover the considerations and practicality of placing a pergola on artificial grass, including tips for installation and maintenance.
What Every Homeowner Needs to Know About Backyard Pergolas: Explore the essential information every homeowner should be aware of when it comes to backyard pergolas, including design ideas, materials, and benefits.
Can a Pergola Be Installed on Grass?: Learn about the feasibility and potential challenges of installing a pergola directly on a grassy surface, along with helpful tips for successful installation.
FAQs
Here are some frequently asked questions about placing a pergola in grass:
Can a pergola be installed on grass without any additional support?
Yes, it is possible to install a pergola on grass without additional support. However, it is important to ensure proper anchoring and stability to withstand weather conditions and potential ground movement.
What are the potential issues when placing a pergola on grass?
Placing a pergola on grass can pose challenges such as stability concerns, potential sinking or shifting, and interference with grass growth. Adequate preparation and maintenance are crucial to address these issues.
Are there specific anchoring methods recommended for installing a pergola on grass?
Yes, there are several anchoring methods suitable for installing a pergola on grass. Common options include ground anchors, concrete footings, or using weighted bases. The choice depends on factors such as the pergola’s size, location, and local conditions.
How can I protect the grass underneath the pergola?
To protect the grass underneath the pergola, consider using a ground cover or gravel in the immediate area where the structure will be placed. This helps prevent direct contact between the pergola and the grass, allowing for better air circulation and reducing potential damage.
Can I move a pergola installed on grass?
In most cases, it is possible to move a pergola installed on grass, especially if it is not permanently anchored. However, it may require dismantling and reinstallation in the new location. Consider the portability and weight of the pergola during the initial installation if you anticipate the need for relocation.

I am Hellen James, a professional handywoman with expertise in improving home and garden spaces by using pergolas, gazebos, and tents.


