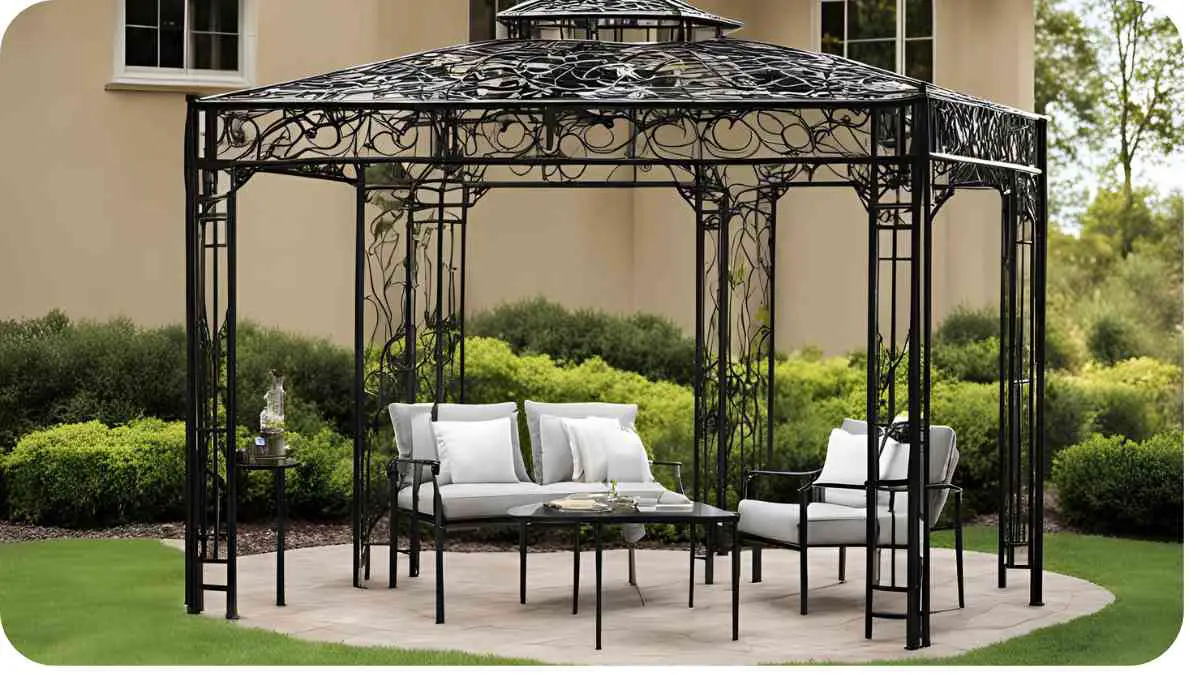
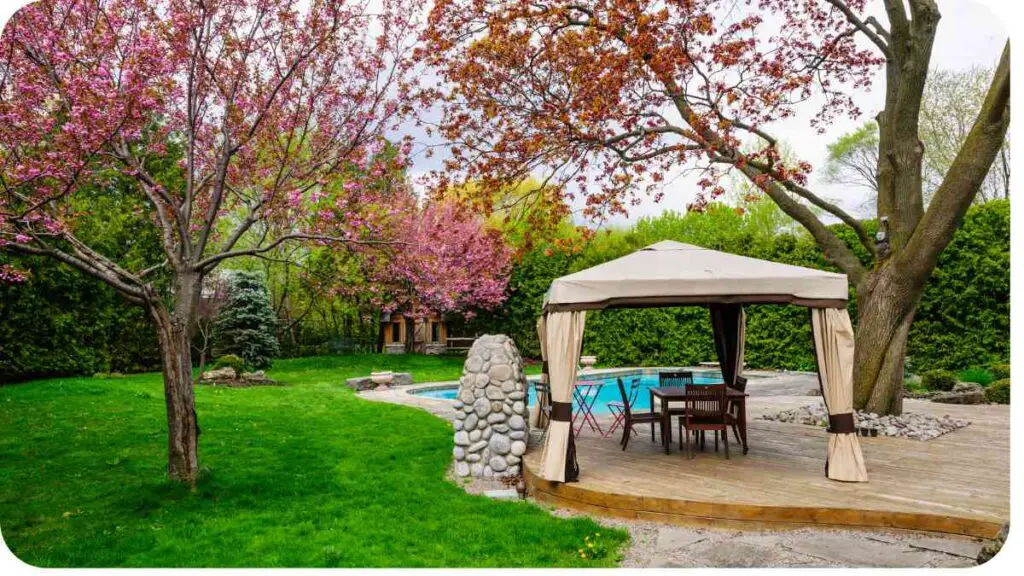
Metal gazebos are a fantastic addition to any outdoor space, providing shade, shelter, and a touch of elegance. However, assembling one may seem daunting at first. Fear not!
In this comprehensive guide, we’ll walk you through the process of assembling metal gazebo frames step by step, ensuring you have the confidence and know-how to tackle this project like a pro.
| Key Takeaways |
|---|
| 1. Choose the perfect location for your gazebo to ensure optimal sun exposure and wind protection. |
| 2. Prepare the assembly area by clearing debris, marking the footprint, and leveling the ground. |
| 3. Organize your tools and materials before starting to streamline the assembly process. |
| 4. Follow the step-by-step guide for assembling the gazebo frame, carefully reading the instructions. |
| 5. Secure the gazebo to the ground to prevent instability, especially in windy conditions. |
| 6. Consider optional upgrades and accessories to enhance the functionality and aesthetics of your gazebo. |
| 7. Perform regular maintenance to prolong the lifespan of your metal gazebo frame. |
2. Selecting the Right Location for Your Metal Gazebo
Before you start assembling your metal gazebo frame, it’s crucial to choose the perfect spot for it. Consider factors such as:
- Sun Exposure: Do you want your gazebo to be in direct sunlight or shaded areas?
- Wind Direction: Position the gazebo so prevailing winds won’t cause discomfort.
- Level Ground: Ensure the ground is level to prevent stability issues once the gazebo is assembled.
Maintaining the aesthetic appeal of your gazebo is crucial for long-term enjoyment. Learn proven methods to restore its beauty and combat color fading, ensuring your outdoor space remains inviting and vibrant.
Here’s a table outlining different considerations for choosing the ideal location:
| Location Consideration | Description |
|---|---|
| Sun Exposure | Direct sunlight may be ideal for warmth, but shaded areas offer relief during hot summer days. |
| Wind Direction | Position the gazebo to minimize the impact of prevailing winds for comfort and stability. |
| Ground Level | Ensure the ground is level to prevent wobbling and ensure proper assembly. |
3. Preparing the Area for Assembly
Preparing the assembly area is essential to ensure a smooth and efficient process. Here’s what you need to do:
- Clear the Space: Remove any debris, rocks, or obstructions from the ground where the gazebo will be placed.
- Mark the Area: Use stakes or spray paint to mark the perimeter of the gazebo’s footprint, ensuring you have enough space for the frame and canopy.
- Level the Ground: Use a level to ensure the ground is flat and even. You may need to add or remove soil to achieve a level surface.
Let’s summarize these steps in a table:
| Preparation Step | Description |
|---|---|
| Clear the Space | Remove debris and obstacles from the area where the gazebo will be placed. |
| Mark the Area | Use stakes or spray paint to outline the footprint of the gazebo, ensuring adequate space. |
| Level the Ground | Ensure the ground is flat and even to prevent stability issues during assembly. |
With the area prepared, it’s time to gather your tools and materials.
4. Organizing Your Tools and Materials
Having the right tools and materials on hand will make the assembly process much smoother. Here’s what you’ll need:
- Tools: Screwdriver or drill with appropriate bits, wrenches, rubber mallet.
- Materials: Metal gazebo frame components, canopy, anchor kit (if included), instructions manual.
Installation challenges on uneven ground can hinder the stability of your gazebo. Discover how to securely anchor a Lowe’s pergola on grass to ensure a properly secured structure that withstands various terrains.
Let’s organize this information into a table for clarity:
| Tools | Materials |
|---|---|
| Screwdriver | Metal gazebo frame components |
| Drill | Canopy |
| Wrenches | Anchor kit (if included) |
| Rubber Mallet | Instructions manual |
Now that you’re prepared, let’s dive into the step-by-step guide for assembling your metal gazebo frame.
5. Step-by-Step Guide to Assembling a Metal Gazebo Frame

Assembling a metal gazebo frame may seem complex, but if you follow these steps carefully, you’ll have your gazebo standing proud in no time. Let’s break it down:
5.1 Unboxing and Inspection
Begin by unboxing all the components of your metal gazebo frame. Take inventory to ensure you have all the parts listed in the instructions manual. Inspect each component for any signs of damage or defects.
5.2 Reading the Instructions
Before diving into assembly, take a moment to read through the instructions manual carefully. Familiarize yourself with the different components and the assembly process outlined in the manual.
5.3 Setting Up the Base
Start by laying out the base components according to the instructions. Connect the base pieces together, ensuring they are securely fastened. Use a rubber mallet to gently tap the pieces into place if needed.
5.4 Attaching the Corner Posts
Next, attach the corner posts to the base of the gazebo frame. Secure them in place using the provided screws or bolts. Ensure the posts are level and plumb before tightening them fully.
Enhance your gazebo’s functionality and protection with a well-designed roof addition. Explore effective methods on adding a roof to your existing pergola to create a comfortable outdoor retreat regardless of weather conditions.
5.5 Installing the Roof Frame
Once the corner posts are in place, it’s time to install the roof frame. Follow the instructions to attach the roof frame components to the corner posts securely. Double-check that everything is aligned properly before tightening the screws.
5.6 Adding the Canopy
Finally, add the canopy to your metal gazebo frame. Carefully drape the canopy over the roof frame, ensuring it is centered and taut. Secure the canopy to the frame according to the instructions, making sure it is securely attached on all sides.
Now that your gazebo frame is assembled, it’s time to secure it to the ground for added stability.
6. Securing the Gazebo to the Ground
Depending on your gazebo model, you may need to use an anchor kit to secure it to the ground. Follow the instructions provided with the anchor kit to ensure proper installation. This step is crucial for ensuring the stability and safety of your gazebo, especially in windy conditions.
7. Optional Upgrades and Accessories
Once your gazebo frame is assembled and secured, you can consider adding optional upgrades and accessories to enhance its functionality and aesthetics. This could include mosquito netting, privacy curtains, or even outdoor lighting.
Stability is key to the safety and longevity of your outdoor pergola. Understand common stability issues and learn how to fix instability problems in your Home Depot pergola for a secure and durable outdoor structure.
8. Maintenance Tips for Longevity
To ensure your metal gazebo frame remains in top condition for years to come, it’s essential to perform regular maintenance. Here are some tips to keep in mind:
- Clean Regularly: Remove dirt, debris, and leaves from the canopy and frame regularly to prevent buildup.
- Inspect for Damage: Periodically inspect the frame and canopy for any signs of damage or wear and tear. Repair or replace any damaged components promptly.
- Store During Winter: If you live in an area with harsh winters, consider disassembling your gazebo and storing it indoors to protect it from snow and ice damage.
Ensure the structural integrity of your gazebo by anchoring it securely to a concrete patio. Follow step-by-step instructions on anchoring your pergola to a concrete patio for a stable and reliable outdoor space solution.
9. Conclusion
Assembling a metal gazebo frame may seem like a daunting task, but with the right tools, materials, and know-how, it can be a rewarding DIY project. By following the step-by-step guide outlined in this article and taking proper care of your gazebo, you can enjoy countless hours of outdoor relaxation and entertainment in your own backyard oasis. So roll up your sleeves, gather your tools, and get ready to assemble your metal gazebo frame like a pro!
Further Reading
For additional resources on assembling metal gazebo frames, check out the following:
- Assembly Manual: 10 ft. Square Steel Gazebo: This comprehensive assembly manual provides detailed instructions for assembling a 10 ft. square steel gazebo, complete with illustrations and step-by-step guidance.
- How to Assemble My Gazebo: Pop-Up Gazebo Instructions: This guide offers helpful instructions and tips for assembling pop-up gazebos, ensuring a quick and hassle-free assembly process.
FAQs
How long does it take to assemble a metal gazebo frame?
Assembling a metal gazebo frame typically takes anywhere from a few hours to a full day, depending on the complexity of the gazebo design and your level of experience with DIY projects.
Do I need any special tools to assemble a metal gazebo frame?
While basic hand tools like screwdrivers, wrenches, and a rubber mallet are usually sufficient for assembling a metal gazebo frame, some models may require specific tools or additional equipment. Refer to the instructions manual for a list of recommended tools.
Can I assemble a metal gazebo frame by myself, or do I need assistance?
While it’s possible to assemble a metal gazebo frame on your own, having an extra set of hands can make the process easier and faster, especially when it comes to lifting and securing larger components. Consider enlisting the help of a friend or family member for certain steps.
How do I ensure my metal gazebo frame is stable and secure?
Properly anchoring your gazebo to the ground is essential for stability and safety, especially in windy conditions. Follow the manufacturer’s instructions for securing the gazebo with anchor kits or other recommended methods to prevent tipping or movement.
What should I do if I encounter problems during assembly?
If you encounter any difficulties or have questions while assembling your metal gazebo frame, refer to the instructions manual for troubleshooting tips and contact the manufacturer’s customer support for assistance. They can provide guidance and solutions to help you successfully complete the assembly process.

I am Hellen James, a professional handywoman with expertise in improving home and garden spaces by using pergolas, gazebos, and tents.
