
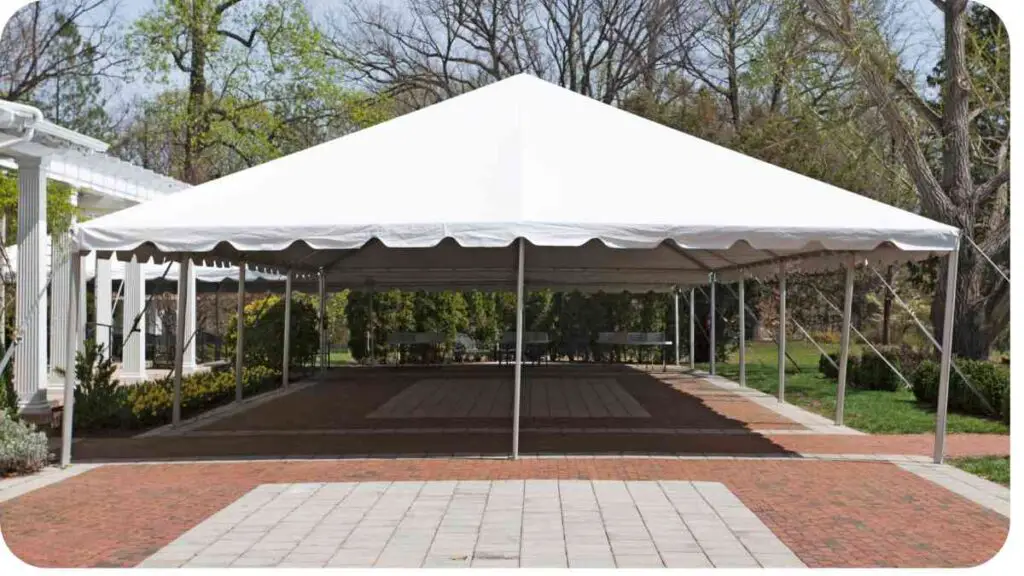
Sealing a canopy is crucial for protecting it from the elements and extending its lifespan. Whether you have a gazebo, tent, or outdoor canopy, proper sealing ensures durability and weather resistance.
In this guide, we’ll walk you through the steps to effectively seal your canopy, ensuring it remains in top condition for years to come.
| Key Takeaways |
|---|
| Proper sealing is essential for canopy durability. |
| Choose the right sealant for your canopy material. |
| Thorough cleaning and preparation are crucial. |
| Follow manufacturer instructions for best results. |
| Regular maintenance ensures long-term protection. |
Understanding Canopy Sealing
Before diving into the sealing process, it’s essential to understand why it’s necessary. Canopies are often exposed to harsh weather conditions such as rain, UV rays, and wind, which can degrade the fabric over time. Sealing creates a protective barrier that repels water, prevents UV damage, and enhances overall durability.
When dealing with canopy leaks, it’s crucial to address them promptly to prevent further damage. Learn effective repair techniques in the comprehensive guide on fixing Martha Stewart living pergolas.
Tools and Materials Needed
To seal your canopy effectively, you’ll need the following tools and materials:
- Cleaning solution (e.g., mild detergent and water)
- Soft-bristled brush or sponge
- Sealant (specifically designed for your canopy material)
- Paint roller or brush for application
- Painter’s tape (if needed)
- Protective gloves and goggles
Preparation Before Sealing
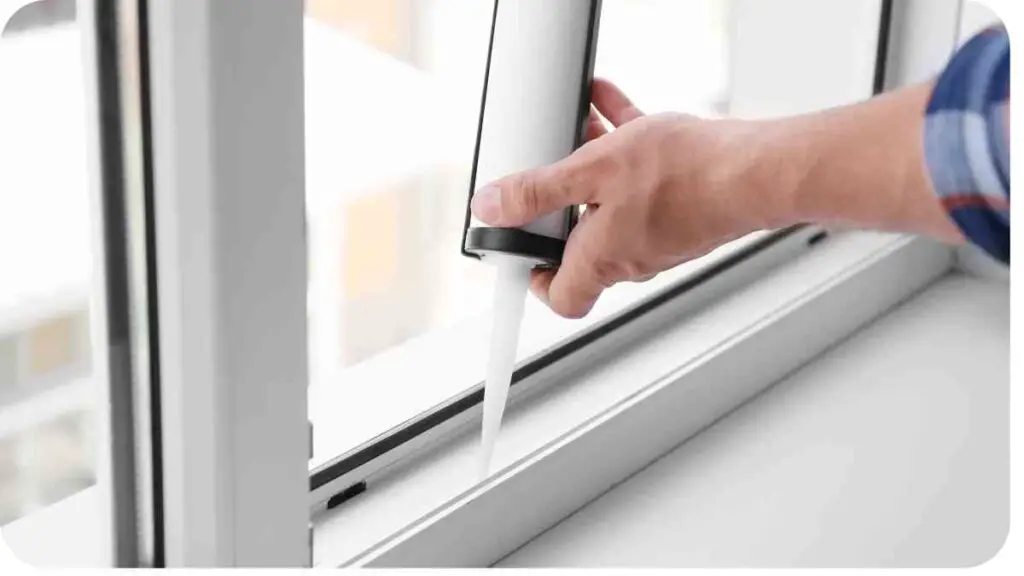
Proper preparation is key to a successful sealing job. Start by thoroughly cleaning the canopy to remove any dirt, debris, or previous sealant residue. Use a mild detergent and water solution along with a soft-bristled brush or sponge to scrub the surface gently. Rinse thoroughly and allow it to dry completely before proceeding.
Table 1: Comparison of Different Types of Sealants
| Sealant Type | Pros | Cons |
|---|---|---|
| Silicone-based | Excellent water resistance | May require primer for some materials |
| Polyurethane | Durable and flexible | Not suitable for all canopy fabrics |
| Acrylic | Quick drying time | Less durable compared to other types |
| Vinyl | Excellent UV resistance | Limited color options |
Choosing the Right Sealant
Selecting the appropriate sealant is crucial for achieving optimal results. Consider factors such as the canopy material, desired level of protection, and environmental conditions. Silicone-based sealants are popular for their water resistance, while polyurethane offers durability and flexibility.
Is your canopy sagging? Don’t let it ruin your outdoor experience. Discover top troubleshooting methods in this guide on sagging issues for Sunbrella canopies.
Table 2: Pros and Cons of DIY vs. Professional Canopy Sealing
| Aspect | DIY Sealing | Professional Sealing |
|---|---|---|
| Cost | Lower cost, but requires time and effort | Higher cost, but ensures quality and expertise |
| Expertise | Requires basic skills, may involve trial and error | Professional expertise and guaranteed results |
| Time | Time-consuming process | Faster turnaround time |
| Result Quality | Variable results depending on skill level | Consistent, high-quality outcome |
Step-by-Step Guide to Sealing a Canopy
Now that you’re equipped with the necessary knowledge and materials, let’s dive into the step-by-step process of sealing your canopy.
Cleaning the Surface
Start by cleaning the canopy surface thoroughly using a mild detergent and water solution. Use a soft-bristled brush or sponge to remove dirt and debris, paying special attention to any stains or discoloration.
Applying Primer (If Necessary)
In some cases, particularly with certain canopy materials, applying a primer may be necessary to ensure proper adhesion of the sealant. Follow the manufacturer’s instructions for the appropriate primer application.
Maintaining your canopy’s fabric top is essential for its longevity. Get step-by-step instructions on replacing fabric tops for 10×10 and 12×12 canopy frames.
Applying the Sealant
Using a paint roller or brush, apply the sealant evenly to the entire canopy surface. Work in small sections to ensure thorough coverage, and avoid applying too thickly to prevent drips or runs.
Letting it Cure
Allow the sealant to cure completely according to the manufacturer’s instructions before exposing the canopy to any moisture or heavy use. This typically involves letting it dry for a specified amount of time.
Tips for Successful Canopy Sealing
- Choose a sealant specifically designed for your canopy material for best results.
- Follow the manufacturer’s instructions carefully for proper application and curing.
- Work in a well-ventilated area to avoid inhaling fumes from the sealant.
- Consider applying multiple thin coats for enhanced durability and protection.
A hole in your canopy can compromise its effectiveness. Learn how to mend it effectively with tips from our guide on fixing holes in canopies.
Common Mistakes to Avoid
- Applying sealant to a dirty or wet surface, which can compromise adhesion.
- Using the wrong type of sealant for your canopy material, leading to ineffective protection.
- Applying too thick of a coat, which can result in drips, runs, or uneven coverage.
- Skipping the cleaning and preparation steps, which are essential for proper adhesion and longevity.
Maintenance After Sealing
Once your canopy is sealed, regular maintenance is key to preserving its condition. Periodically inspect the sealant for any signs of wear or damage, and reapply as needed to maintain optimal protection.
Frequently Asked Questions (FAQs)
- How often should I reseal my canopy?
- Can I use the same sealant for different types of canopy materials?
- Is it necessary to seal both sides of the canopy fabric?
- Can I apply sealant in cold or humid weather conditions?
Even boat canopies need patching from time to time. Discover expert advice on patching boat canopies to ensure your marine adventures continue smoothly.
Conclusion
Sealing your canopy is a simple yet essential maintenance task that can significantly prolong its lifespan and enhance its performance. By following the steps outlined in this guide and choosing the right sealant for your needs, you can ensure that your canopy remains in top condition for years to come.
Further Reading
Here are some additional resources for further reading on canopy maintenance and sealing:
- How to Waterproof a Canopy: A Step-by-Step Guide: This comprehensive guide provides detailed instructions on waterproofing your canopy, ensuring it stays protected from rain and moisture.
- How to Dust-Proof Your Canopy: Learn effective techniques for dust-proofing your canopy to keep it clean and free from dust and debris, especially in dusty environments.
- Guide to DIY Dust Sealing: This guide offers valuable insights and tips for DIY dust sealing, helping you protect your canopy from dust and dirt buildup during off-road adventures.
FAQs
Here are some frequently asked questions about canopy sealing:
Can I use the same sealant for different types of canopy materials?
Yes, while some sealants are specifically formulated for certain materials, there are multi-surface sealants available that can be used on various canopy materials. However, it’s essential to check the manufacturer’s recommendations to ensure compatibility.
How often should I reseal my canopy?
The frequency of resealing depends on factors such as weather exposure, usage, and the type of sealant used. In general, it’s recommended to inspect your canopy annually and reseal it as needed to maintain optimal protection.
Is it necessary to seal both sides of the canopy fabric?
While sealing both sides of the canopy fabric can provide enhanced protection, it may not always be necessary. In many cases, sealing the exterior side that is exposed to the elements is sufficient. However, if your canopy is frequently exposed to moisture or dust from both sides, sealing both sides can be beneficial.
Can I apply sealant in cold or humid weather conditions?
Ideally, sealant should be applied in moderate temperatures and low humidity to ensure proper curing and adhesion. Cold or humid conditions can affect the effectiveness of the sealant and may lead to subpar results. If applying sealant in such conditions is unavoidable, take extra precautions and follow the manufacturer’s recommendations closely.

I am Hellen James, a professional handywoman with expertise in improving home and garden spaces by using pergolas, gazebos, and tents.
