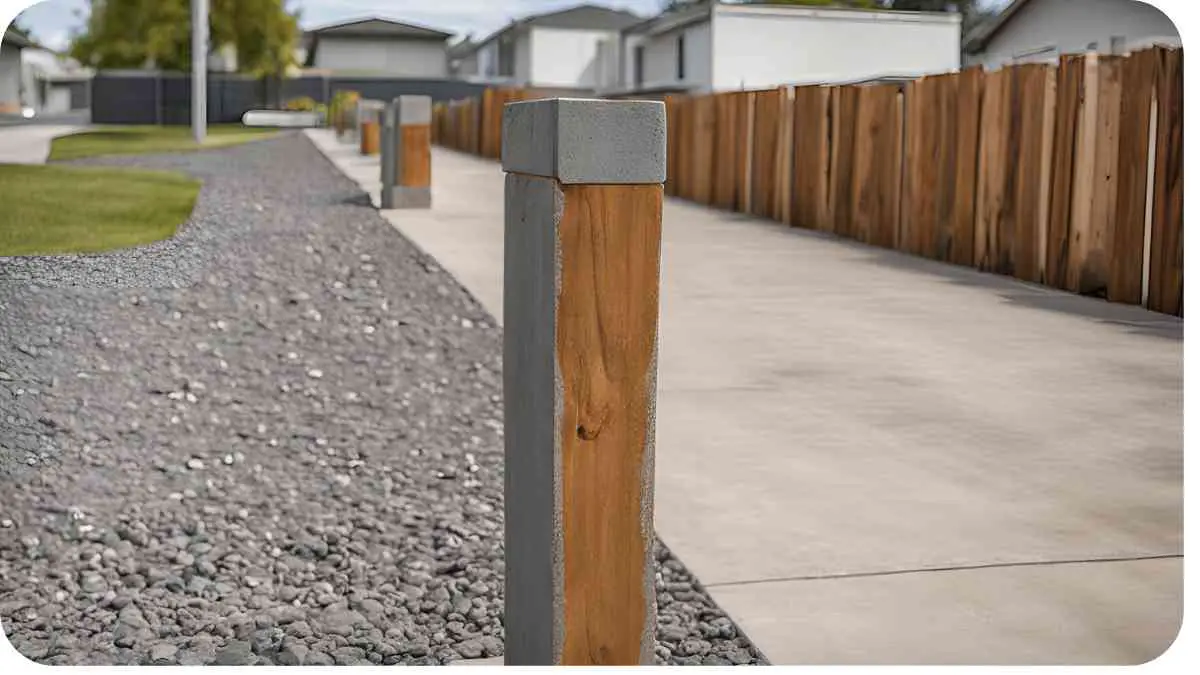
Anchoring fence posts in concrete is a crucial step in ensuring the stability and longevity of your fence. Whether you’re installing a new fence or repairing an existing one, proper anchoring is essential to withstand various weather conditions and prevent sagging or leaning.
In this guide, we’ll delve into the intricacies of anchoring fence posts in concrete, providing you with valuable insights, tips, and techniques to master this essential skill.
| Takeaways |
|---|
| Properly anchoring fence posts in concrete is crucial for the stability and longevity of your fence. |
| Understand the importance of selecting the right type of anchors and preparing the site adequately. |
| Follow the recommended techniques for mixing concrete, setting post depth, and securing the posts during curing. |
| Avoid common mistakes such as insufficient concrete coverage or rushing the curing process. |
| Consider alternative anchoring methods based on your specific project needs and preferences. |
| Further reading and research can provide additional insights and tips for successful fence post installation. |
2. Importance of Properly Anchored Fence Posts
Before we dive into the nitty-gritty of the installation process, let’s take a moment to understand why properly anchored fence posts are crucial. Fence posts serve as the backbone of your fence, supporting the weight and tension of the fencing materials. Without secure anchoring, your fence is susceptible to leaning, shifting, or even collapsing, especially in high winds or adverse weather conditions.
Ensuring stability and longevity, anchoring your pergola to a concrete patio provides a solid foundation for outdoor enjoyment. Learn how to securely fasten your pergola in place with our step-by-step guide.” How to Anchor Pergola to Concrete Patio Discover the expert-recommended method today.
Types of Fence Post Anchors
| Anchor Type | Description | Best Use Cases |
|---|---|---|
| Concrete | Directly embeds into concrete for stability | Heavy-duty installations |
| Drive-In | Driven into the ground with a hammer or mallet | Temporary or light-duty fences |
| Spike | Driven into the ground with a sledgehammer | Soft or sandy soil conditions |
| Screw-In | Twisted into the ground with a wrench or drill | Rocky or hard soil conditions |
4. Tools and Materials Required
To anchor fence posts in concrete effectively, you’ll need the right tools and materials at your disposal. Here’s a list of essentials:
- Fence Posts: Choose durable, pressure-treated wood or metal posts based on your fence design and local climate conditions.
- Concrete Mix: Opt for high-quality concrete mix specifically formulated for fence post installation.
- Water: Required for mixing concrete to the appropriate consistency.
- Shovel: Use for digging post holes and mixing concrete.
- Level: Ensures the posts are installed vertically for a straight and even fence line.
- Measuring Tape: Helps determine the precise placement and depth of fence posts.
- Post Hole Digger or Auger: Speeds up the process of digging post holes, especially in dense or rocky soil.
- Gravel: Placed at the bottom of post holes for drainage and stability.
- Wheelbarrow or Mixing Tub: Provides a convenient container for mixing concrete.
- Safety Gear: Includes gloves, safety glasses, and sturdy footwear to protect against injuries.
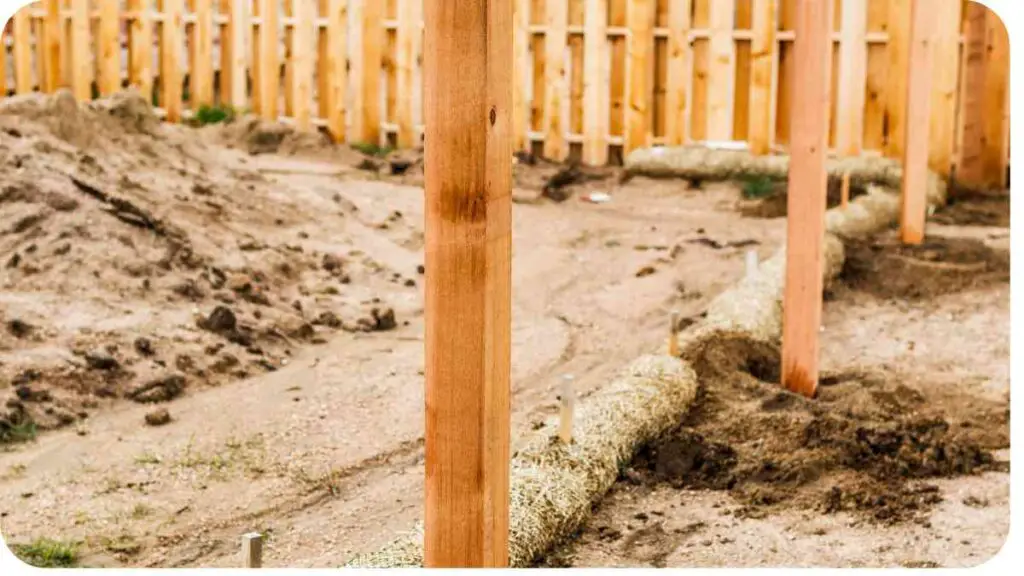
5. Preparing the Site for Installation
Before installing fence posts, it’s essential to prepare the site adequately. Follow these steps:
- Mark the Fence Line: Use stakes and string to outline the perimeter of your fence, ensuring straight lines and proper spacing between posts.
- Call Utility Companies: Contact your local utility companies to identify and mark any underground utilities to avoid accidental damage during digging.
- Clear the Area: Remove any obstacles such as rocks, debris, or vegetation from the designated fence line.
- Dig Post Holes: Use a post hole digger or auger to dig holes at regular intervals along the fence line, ensuring they are deep enough to accommodate one-third to one-half of the fence post length, plus additional depth for gravel and concrete.
For a secure and stable structure, anchoring your pergola to a deck is essential. Follow our comprehensive guide to learn the proper techniques and ensure your pergola stays firmly in place.” How to Anchor Pergola to Deck – Answered for expert advice on anchoring techniques.
6. Setting the Fence Post Depth
The depth at which you set your fence posts is critical for stability and longevity. Here’s a general guideline:
- For standard 4×4 posts: Dig post holes approximately 2 feet deep for fences up to 6 feet in height.
- For taller or heavier-duty fences: Increase the depth to 3 feet or more to provide adequate support and stability.
Ensure that the bottom of each post hole is level to prevent uneven settling or leaning of the fence posts over time.
7. Mixing Concrete for Anchoring
Properly mixing concrete is essential for achieving strong and durable anchorages. The ratio of concrete to water is crucial for optimal performance. Use the following table as a guide:
Concrete Mixing Ratios for Different Fence Post Sizes
| Fence Post Size | Concrete Mix Ratio |
|---|---|
| 4×4 | 1 part cement, 2 parts sand, 3 parts gravel |
| 6×6 | 1 part cement, 2.5 parts sand, 3.5 parts gravel |
| Metal | Fast-setting concrete mix as per manufacturer’s instructions |
Mix the concrete thoroughly in a wheelbarrow or mixing tub until it reaches a uniform consistency, similar to thick oatmeal.
Looking for a reliable method to anchor your pergola to grass? Our handyman advice provides practical tips and techniques to ensure your pergola remains stable and secure in any outdoor setting.” How to Anchor Pergola to Grass – Handyman Advice for expert guidance and recommendations.
8. Securing the Fence Post in Concrete
Now that you’ve prepared the site and mixed the concrete, it’s time to anchor the fence posts securely. Follow these steps for a successful installation:
- Place Gravel in Post Holes: Add a layer of gravel to the bottom of each post hole to improve drainage and prevent wooden posts from direct contact with the soil, which can lead to rotting over time.
- Insert Fence Posts: Carefully place each fence post into its designated hole, ensuring it is centered and plumb. Use a level to check for vertical alignment in both directions.
- Pour Concrete: Fill each post hole with the pre-mixed concrete, ensuring it completely surrounds the base of the post. Use a shovel to pack the concrete tightly around the post to eliminate air pockets.
- Check Alignment: Double-check the alignment and plumbness of each post before the concrete sets. Make any necessary adjustments by tapping the post gently with a mallet.
- Support During Drying: Prop up each post with braces or stakes to keep them in position while the concrete cures. Allow the concrete to dry completely according to the manufacturer’s instructions before removing the supports.
9. Curing and Drying Time
Proper curing and drying of the concrete are essential for achieving maximum strength and durability. While drying times may vary depending on factors such as temperature, humidity, and concrete mix composition, it’s generally recommended to wait at least 24 to 48 hours before applying any tension or weight to the fence.
During the curing process, keep the concrete moist by lightly sprinkling water over the surface or covering it with a damp cloth to prevent rapid evaporation. Avoid placing heavy loads or applying stress to the fence posts until the concrete has fully cured to avoid compromising their integrity.
When setting up a free-standing pergola, proper anchoring is crucial for stability. Explore our detailed explanation of different anchoring methods and ensure your pergola is securely fixed in place.” How to Anchor Free-standing Pergola – Explained to discover the best anchoring techniques.
10. Common Mistakes to Avoid
Even seasoned DIY enthusiasts can make mistakes when anchoring fence posts in concrete. Here are some common pitfalls to watch out for:
- Improper Post Depth: Failing to dig post holes to the correct depth can result in unstable fence posts that may lean or shift over time.
- Insufficient Concrete Coverage: Inadequate concrete coverage around the base of the post can weaken the anchorage and compromise the stability of the fence.
- Incorrect Mixing Ratios: Using the wrong ratio of cement, sand, and gravel when mixing concrete can lead to poor-quality anchorages that may crack or crumble under pressure.
- Skipping the Curing Process: Rushing the curing process or applying tension to the fence too soon can result in weaker concrete and compromised structural integrity.
By avoiding these common mistakes and following the recommended best practices, you can ensure a successful and long-lasting fence post installation.
11. Alternative Methods for Anchoring Fence Posts
While concrete is a popular and effective method for anchoring fence posts, there are alternative techniques you can consider based on your specific needs and preferences:
- Post Anchors: Metal post anchors are designed to attach wooden or metal posts to concrete surfaces without the need for digging or pouring concrete. They provide a strong and durable connection and are ideal for situations where traditional concrete anchoring is impractical or not desired.
- Ground Spikes: Ground spikes, also known as post spikes or post supports, are metal brackets with spiked ends that are driven into the ground using a sledgehammer. They provide a quick and easy solution for anchoring fence posts in soft or sandy soil conditions.
- Helical Piles: Helical piles, also known as screw piles, are cylindrical steel shafts with helical plates welded to the bottom. They are mechanically screwed into the ground using specialized equipment, providing a stable foundation for fence posts without the need for concrete.
- Composite Materials: Some modern fencing systems utilize composite materials such as fiberglass or plastic for both the posts and the anchoring components. These materials offer durability, resistance to rot and decay, and ease of installation compared to traditional wood or metal posts.
Maximize stability and longevity by anchoring your pergola to a paver patio. Our recommended method ensures a secure installation, allowing you to enjoy your outdoor space with peace of mind.” How to Anchor Pergola to Paver Patio – Recommended for expert-recommended anchoring solutions.
Consider exploring these alternative methods to find the best solution for your specific fencing project, taking into account factors such as soil type, climate conditions, budget, and aesthetic preferences.
12. FAQs (Frequently Asked Questions)
Here are some common questions that homeowners and DIY enthusiasts often have about anchoring fence posts in concrete:
FAQs about Anchoring Fence Posts
| Question | Answer |
|---|---|
| How deep should fence posts be set in concrete? | Fence posts should be set approximately one-third to one-half of their length into the concrete. |
| How long does it take for concrete to cure? | Concrete typically takes 24 to 48 hours to cure fully, although drying times may vary. |
| Can I use regular concrete for fence post anchoring? | It’s recommended to use concrete mix specifically designed for fence post installation. |
| Do I need to brace fence posts while the concrete dries? | Yes, bracing the posts during the curing process helps maintain alignment and stability. |
These frequently asked questions provide valuable insights into the key aspects of anchoring fence posts in concrete, helping you tackle your project with confidence and expertise.
13. Conclusion
Mastering the art of anchoring fence posts in concrete is essential for building a sturdy and long-lasting fence that enhances the beauty and security of your property. By following the techniques and best practices outlined in this guide, you can ensure a successful installation process and enjoy the benefits of a strong and durable fence for years to come.
Remember to start by understanding the importance of properly anchored fence posts and selecting the right type of anchors for your specific needs. Prepare the site thoroughly, mix the concrete accurately, and set the fence posts to the correct depth for optimal stability.
Avoid common mistakes such as inadequate concrete coverage or rushing the curing process, and consider alternative anchoring methods if traditional concrete installation is not suitable for your project.
By taking the time to plan and execute your fence post installation correctly, you can avoid costly repairs and enjoy a beautiful and reliable fence that adds value to your property.
Further Reading
Here are some additional resources for further reading on anchoring fence posts in concrete:
- Quikrete – Setting Posts: Quikrete offers comprehensive guidance on setting posts using their concrete products, including tips and techniques for achieving optimal results.
- Fine Homebuilding Forum – Anchoring Fence Post to Concrete Slab Ideas: Explore discussions and ideas from homeowners and DIY enthusiasts on anchoring fence posts to concrete slabs, featuring practical advice and creative solutions.
- Perimtec – Fence Mounted to Concrete: Perimtec provides insights and recommendations for mounting fences to concrete surfaces, covering various installation methods and considerations for different fence types.
FAQs
Here are some frequently asked questions about anchoring fence posts in concrete:
How deep should I dig post holes for concrete anchoring?
Post holes should be dug approximately one-third to one-half of the length of the fence post, plus additional depth for gravel and concrete.
Can I use regular concrete mix for anchoring fence posts?
It’s recommended to use concrete mix specifically formulated for fence post installation, as it provides better durability and performance.
How long does it take for concrete to cure fully?
Concrete typically takes 24 to 48 hours to cure fully, although drying times may vary depending on factors such as temperature and humidity.
Do I need to brace fence posts while the concrete dries?
Yes, bracing the posts during the curing process helps maintain alignment and stability, ensuring a straight and secure fence installation.
What alternative methods are available for anchoring fence posts?
Alternative methods include post anchors, ground spikes, helical piles, and composite materials, each offering unique benefits and suitability for different project requirements.

I am Hellen James, a professional handywoman with expertise in improving home and garden spaces by using pergolas, gazebos, and tents.
