Pergola on patio? It’s possible! This project is perfect for someone with a small patio but big dreams. The key to making this work is choosing the right materials and measuring carefully.
We’ll walk you through how to build a pergola on your patio so that you can enjoy it as much as we do ours.
| Takeaways |
|---|
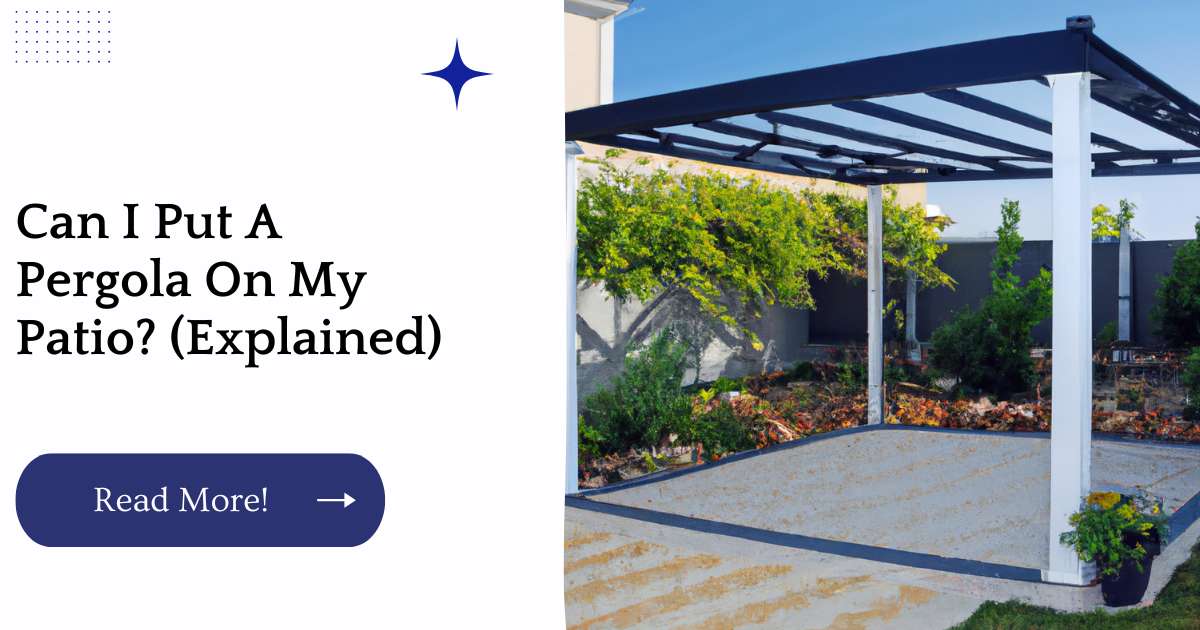
| Placing a pergola on a patio can provide shade and create an inviting outdoor space. |
| Before installing a pergola on a patio, consider the size and weight of the pergola, as well as the patio’s structural capacity. |
| It’s important to ensure proper anchoring and support for the pergola to ensure stability and safety. |
| Adding climbing plants or a retractable canopy to the pergola can enhance its functionality and aesthetics. |
| Consulting with professionals or following detailed installation guides can help ensure a successful pergola installation on a patio. |
1. Measure Your Patio
Before you can get to building your pergola, you’ll need to measure your patio. This is a straightforward process that involves measuring the length and width of the area that will be covered by your pergola, as well as its height.
After completing these measurements, you’ll also want to note how far away from your house or other structures in your yard (like trees) sits your patio.
Finally, think about where this project will sit within its larger context – whether it’s a section of lawn or a side entranceway between two buildings (like an enclosed porch).
If this spot doesn’t have enough room for what you’re envisioning, take some time with Google Maps before deciding on another location.
If you’re wondering about the feasibility of putting a tent over a pergola, our comprehensive guide on putting a tent over a pergola has all the answers you need. Explore the options and considerations for creating a unique outdoor space.
2. Mark Your Patio
Now that you’ve decided to put a pergola on your patio, you need to mark it so the crew can build it in the right place.
You can use a chalk line to mark where your arches will go and where they’ll intersect with each other. Once the outline is drawn, use a tape measure to get an exact measurement of how wide and long your patio is. This will help you know exactly how large (or small) of a pergola you want for your space.
If you don’t have either of these tools on hand, improvise! A garden hose or string work just as well when marking out dimensions on hard ground like concrete patios or asphalt driveways.
3. Place Your Footings on the Patio
- Measure the size of the patio.
- Mark off the area where you will be placing your footings and make sure that it is level and even with the rest of your patio surface.
- Place your footings on top of this marked off section, being careful not to damage any plants or flowers that may be in this area!
- Use a spirit level to ensure that they are level with one another, then place some concrete underneath each footing so they are completely secured in place before continuing onto step 5 below (see image below).
4. Mix Concrete in a Wheelbarrow
Mixing concrete can be done in a wheelbarrow, but it’s easier to do it in a mixing tub. Use the shovel to mix the concrete according to instructions on your bag of concrete.
Add water until it has the consistency of peanut butter and then pour some out into the wheelbarrow so you have enough room to add more concrete when needed.
You can use this same technique with any other type of mold as long as it’s made out of metal or plastic, not wood.
When moving from one place to another, make sure that there aren’t any dry spots on top where moisture could collect when you start building up layers again later on!
Looking for ways to enhance your pergola? Consider adding a plastic roof! Our article on putting a plastic roof on a pergola explains the benefits and steps involved in this modification, helping you create a more versatile and weather-resistant outdoor area.
5. Pour Footing into Molds
Now that you’ve got the mold, it’s time to make some concrete. If you’re not familiar with concrete, here’s what you need to know:
- You can find pre-made concrete mix at your local hardware store or online.
- Mixed concrete is poured into a mold and allowed to cure for several days before being taken out; this will be covered more in another section below.
- Once mixed, it needs about 7 hours of setting time before it can be removed from the mold (it usually needs longer than this period). So plan ahead!
6. Let the Concrete Cure
Make sure your container is clean and dry before adding the concrete.
Mix the cement according to the instructions on the bag.
Pour the mixture into your bucket, filling it up about halfway if you want to make an 18-inch-tall structure.
Use a trowel (I used a shovel) or an old butter knife to spread it around evenly in your container/bucket/whatever thingy you’re using as a mold, making sure there are no bumps or ridges along its surface that could cause problems later when we add onto this form with other materials (like wood).
| Step | Description |
|---|---|
| 1. Pour Concrete | Pour the concrete mixture into the desired area. |
| 2. Level and Smooth | Level the concrete surface and smooth out any irregularities or air pockets. |
| 3. Allow Time for Initial Set | Let the concrete sit undisturbed for the initial setting period, typically around 24 to 48 hours. |
| 4. Moist Cure | Maintain the moisture of the curing concrete by covering it with plastic sheets or using a curing compound. |
| 5. Wait for Full Strength | Give the concrete ample time to cure and reach its full strength, which can take several weeks or more depending on factors like temperature and humidity. |
7. Drill Holes in the Concrete Footings
To install the footing, you’ll need to drill holes in the concrete. It’s best if you have a hammer drill to do this, but any kind of power drill will work as well.
Make sure your hole is deep enough about 18″ or so so that after the concrete is poured, there will be about 1″ of concrete below ground level for drainage.
Make sure your holes aren’t too close to the edge of your footings; otherwise when it rains and water gets under them, they may crack from expansion/contraction as a result of freezing temperatures (which can also happen with snow).
Curious about placing a pergola in grass? Our informative guide on putting a pergola in grass explores the challenges and considerations involved in this installation, offering valuable insights for your outdoor project.
8. Set Pergola Posts On Footings and Level the Boards
To make sure your pergola is level, set the posts on footings and use a level to check. Once you’ve got it all level, you can start attaching boards or lattice to your structure.
If you’re using wood or metal posts, the post holes should be dug at least 12 inches deep and 12 inches wide.
The concrete needs to fill this hole with enough room for about an inch of concrete above ground level for expansion so that your pergola won’t crack over time.
9. Attach Post Brackets to Frame Beams
Take the post brackets and use them to attach the frame beams to your patio posts. Make sure you use a level so that your posts are straight, then screw in each bracket using several screws on each side of the beam.
Drill holes at least 4 inches deep into the beams so you can get a good grip on them when attaching them to the frame by hand. If you don’t have access to power tools like drills, try using an old hammer instead—just make sure it’s not one with loose handles!
| Step | Description |
|---|---|
| 1. Position Post Brackets | Place the post brackets on the frame beams in the desired locations. |
| 2. Align and Level | Ensure that the post brackets are properly aligned and level with the frame beams. |
| 3. Secure with Hardware | Use appropriate hardware, such as screws or bolts, to securely attach the post brackets to the frame beams. |
| 4. Check Stability | Verify the stability of the post brackets’ attachment to ensure they are firmly fastened and won’t move or shift. |
| 5. Repeat for Each Post Bracket | Repeat the process for attaching all the post brackets to the frame beams, ensuring proper spacing and alignment. |
10. Anchor Pergola to concrete patio with brackets and screws
To anchor your pergola to concrete patio, first attach brackets to the front posts of your pergola. You’ll need to measure out where these brackets will be placed on each post and mark them with pencil or chalk.
Then use a drill bit that’s just slightly smaller than the diameter of your screws (a drill bit is like a screwdriver) to create pilot holes at each spot you marked. Next, place an outdoor adhesive caulk into each pilot hole before securing it in place with screws.
After all four brackets have been installed on both sides of your pergola’s front posts, use additional screws to secure them in place until they are firmly anchored into the concrete surface below.
Considering building a pergola on pier blocks? Our detailed explanation on building a pergola on pier blocks covers the process, benefits, and important factors to consider. Discover how to create a sturdy and secure structure for your outdoor space.
11. Attach Rafters to Top of Posts and Supports
Now that you’ve got your posts and supports in place, it’s time to attach the rafters. You can do this with a hammer and nails, but it is much easier if you have a nail gun for the job.
If you don’t have one, try renting one from your local hardware store so that attaching your pergola takes less time than it would if you were using regular tools.
It is important that all of the rafters are straight so that they line up correctly with each other when they are finished.
Use a level to make sure they are all lined up before attaching them to top of posts and supports with nails or screws depending on what type of material has been used for construction.
It might also be a good idea now (or later)
| Step | Description |
|---|---|
| 1. Position Rafters | Place the rafters on top of the posts and supports. |
| 2. Align and Level | Ensure that the rafters are aligned and level with the posts and supports. |
| 3. Secure with Hardware | Use appropriate hardware, such as screws or brackets, to firmly attach the rafters to the posts and supports. |
| 4. Check Stability | Verify the stability of the rafters’ attachment to ensure they are securely fastened and won’t shift or move. |
| 5. Repeat for Each Rafter | Repeat the process for attaching all the rafters to complete the installation. |
12. Stain The Pergola and Enjoy!
After the pergola is assembled, you should stain it to protect it from the elements. You can use a wood preservative to keep it looking good for years to come. In addition, if you want your pergola to last as long as possible and not fade out over time, you’ll want to stain it every year or two.
Want to maximize your outdoor area by building a pergola next to a fence? Our article on building a pergola next to a fence provides expert insights, tips, and considerations to ensure a successful integration of these two elements, creating a stylish and functional outdoor space.
Conclusion
If you have a patio that is big enough, then there is no reason why you can’t have a pergola on it. It will be able to create the feeling of being outside without having to worry about any of the elements such as rain or sun.
Just make sure that whatever wood type is chosen for your pergola, it will be able to keep up with any weather conditions that come its way during the winter months when snow falls and freezes over everything around us!
Further Reading
Can You Put a Pergola on a Raised Deck?: Discover the considerations and techniques for installing a pergola on a raised deck to create a beautiful outdoor space.
How to Build a Pergola on a Concrete Patio in Two Days: Learn a step-by-step approach to building a pergola on a concrete patio within a short timeframe, providing shade and aesthetic appeal.
Pergola Installation: This guide covers the essentials of pergola installation, including materials, tools, and techniques, to help you successfully construct your own pergola.
Please note that the descriptions provided for each URL are concise and can be expanded based on the specific content and information found on the respective webpages.
Now, here’s the FAQs section with 5 questions and answers in H3:
FAQs
Can I put a pergola on a raised deck?
Yes, it is possible to put a pergola on a raised deck. However, it requires careful planning and consideration of factors such as weight, stability, and attachment methods. Ensure you follow proper installation guidelines to ensure the safety and structural integrity of both the deck and the pergola.
How can I build a pergola on a concrete patio?
Building a pergola on a concrete patio involves using anchor brackets or post bases to securely attach the pergola posts to the concrete surface. It may also require drilling holes and using concrete anchors for added stability. Following a detailed guide or consulting with a professional can help ensure a successful installation.
What are the steps involved in pergola installation?
Pergola installation typically involves the following steps: planning and design, site preparation, assembly of the pergola structure, installation of posts or support columns, attaching the beams and rafters, and finishing touches such as adding shade elements or decorative features. Detailed instructions and diagrams can be found in installation guides or tutorials.
Can I install a pergola myself or should I hire a professional?
The decision to install a pergola yourself or hire a professional depends on your DIY skills, experience, and the complexity of the project. Simple pergola kits with clear instructions may be suitable for DIY installation, while more complex designs or customizations might require professional expertise. Assess your abilities and consult with experts if needed.
Are there any specific permits or regulations for pergola installation?
Permits and regulations for pergola installation can vary depending on your location and the size of the structure. It’s essential to check with your local building department or relevant authorities to determine if any permits or approvals are required. Adhering to building codes ensures compliance and safety during installation.

I am Hellen James, a professional handywoman with expertise in improving home and garden spaces by using pergolas, gazebos, and tents.
