Welcome to our step-by-step tutorial on creating your own DIY canopy rain gutter! Are you tired of getting soaked every time it rains while you’re trying to enjoy your outdoor space? If so, this guide is for you. We’ll walk you through the process of designing, measuring, and installing a rain gutter system for your canopy, helping you stay dry and comfortable in any weather.
| Takeaways |
|---|
| 1. DIY canopy rain gutters offer a practical solution for protecting outdoor spaces from rain and inclement weather. |
| 2. Proper planning and measurement are crucial for a successful installation, ensuring effective water drainage. |
| 3. Regular maintenance is essential to keep the gutter system in optimal condition and prevent issues such as clogging and leaks. |
| 4. DIY installation can result in cost savings compared to hiring a professional, making it a budget-friendly option for homeowners. |
| 5. By implementing a DIY canopy rain gutter, homeowners can enjoy their outdoor space year-round, rain or shine. |
2. Materials Needed
Before we dive into the tutorial, let’s gather all the materials you’ll need for this project:
| Material | Quantity |
|---|---|
| PVC pipes | 6-8 |
| PVC elbows | 4 |
| PVC tees | 2 |
| PVC adhesive | 1 bottle |
| Gutter sections | 2-4 |
| Gutter end caps | 2 |
| Gutter brackets | 6-8 |
| Screws | As needed |
| Screwdriver | 1 |
| Measuring tape | 1 |
| Saw (PVC or hacksaw) | 1 |
| Level | 1 |
| Ladder | 1 |
| Safety goggles | 1 pair |
| Gloves | 1 pair |
3. Planning Your DIY Canopy Rain Gutter
Before you start cutting or assembling anything, it’s crucial to have a clear plan in mind. Here are some key considerations:
Ensuring proper canopy sealing is essential for weather resistance and longevity. By following our step-by-step guide, you can effectively protect your canopy from leaks and damage, ensuring it remains functional for years to come.
Location:
- Determine where you want to install the canopy rain gutter. Choose a spot where water tends to accumulate or where you spend the most time outdoors.
Canopy Type:
- Assess the type of canopy you have. Is it attached to your house, freestanding, or part of a pergola? This will impact the design and installation process.
Slope:
- Ensure that your gutter has the proper slope for water to flow towards the downspout. A slope of at least ¼ inch per 10 feet is recommended.
Size:
- Measure the length of the canopy where you plan to install the gutter. This will determine how much material you need.
Downspout Placement:
- Decide where you want the water to drain. Ideally, it should be away from your house’s foundation and any walkways.
Transform your space with a beautiful canopy over window installation. Our comprehensive tutorial provides easy-to-follow instructions, allowing you to create a charming and practical addition to your home while enhancing its aesthetic appeal.
Aesthetics:
- Consider the overall look of your outdoor space. Choose gutter and pipe colors that complement your canopy and surroundings.
4. Measuring and Cutting
Step 1: Measure the Length:
- Using your measuring tape, carefully measure the length of the canopy where you’ll be installing the gutter. Make sure to account for any corners or turns.
Step 2: Determine the Number of PVC Pipes:
- Based on the length of your canopy, decide how many PVC pipes you’ll need. Typically, you’ll need one pipe for every 3-4 feet of gutter.
Step 3: Cut the PVC Pipes:
- Using a saw (PVC cutter or hacksaw), cut the PVC pipes to the desired lengths. Remember to measure twice and cut once to ensure accuracy.
Step 4: Cut Openings for Downspout:
- If necessary, cut openings in the gutter sections for the downspout. Use a saw to carefully make the cuts, following the manufacturer’s guidelines.
Step 5: Cut Angles for Corners:
- If your canopy has corners, you’ll need to cut angles in the PVC pipes to fit. Use a miter saw or PVC cutter to make precise 45-degree cuts.
Step 6: Test Fit:
- Once all the pieces are cut, do a test fit to ensure everything lines up correctly and fits snugly.
By taking your time with measuring and cutting, you’ll ensure that your DIY canopy rain gutter fits perfectly and functions effectively.
5. Assembling the Canopy Frame
Step 1: Lay Out the PVC Pipes:
- Lay out all the cut PVC pipes on the ground in the configuration of your canopy. This will give you a visual guide for assembly.
Ensuring proper canopy sealing is essential for weather resistance and longevity. By following our step-by-step guide, you can effectively protect your canopy from leaks and damage, ensuring it remains functional for years to come.
Step 2: Connect the Pipes:
- Begin by connecting the PVC pipes using PVC elbows and tees as needed. Ensure that the connections are secure and aligned properly.
Step 3: Check for Level:
- Use a level to ensure that the canopy frame is level and straight. Adjust as necessary by adding shims under the legs or adjusting the connections.
Step 4: Secure the Joints:
- Once you’re satisfied with the alignment, use PVC adhesive to secure the joints. Apply adhesive liberally to both the pipe and fittings, then press them together firmly.
Step 5: Reinforce with Brackets:
- To add extra stability, install PVC brackets at regular intervals along the canopy frame. Use screws to secure the brackets to both the frame and the supporting structure.
Step 6: Allow Adhesive to Dry:
- Allow ample time for the PVC adhesive to dry and cure fully before moving on to the next step. Refer to the manufacturer’s instructions for specific drying times.
By following these steps, you’ll have a sturdy and stable canopy frame ready to support your rain gutter system.
6. Installing the Gutter System
Step 1: Attach Gutter Brackets:
- Begin by attaching gutter brackets to the canopy frame at regular intervals. Use screws to secure the brackets firmly in place.
Step 2: Position the Gutter Sections:
- Position the gutter sections on top of the brackets, ensuring they are level and sloped towards the downspout location.
Transform your space with a beautiful canopy over window installation. Our comprehensive tutorial provides easy-to-follow instructions, allowing you to create a charming and practical addition to your home while enhancing its aesthetic appeal.
Step 3: Connect the Gutter Sections:
- Connect the gutter sections together using gutter connectors or couplers. Make sure the connections are tight to prevent leaks.
Step 4: Secure End Caps:
- Install end caps on each end of the gutter sections to prevent water from leaking out. Ensure the end caps are securely attached.
Step 5: Test for Proper Drainage:
- Pour water into the gutter system to test for proper drainage. Adjust the slope or positioning if necessary to ensure water flows smoothly towards the downspout.
Step 6: Make Adjustments:
- Check for any leaks or alignment issues and make adjustments as needed. Tighten screws and fittings to ensure everything is secure.
Step 7: Trim Excess Gutter:
- If necessary, trim any excess gutter length to fit the canopy frame perfectly. Use a saw or tin snips to make precise cuts.
Once you’ve completed these steps, your DIY canopy rain gutter should be fully installed and ready to keep you dry during rainy days.
7. Attaching the Gutter to the Canopy
Step 1: Position the Gutter:
- Carefully lift the gutter sections and position them onto the gutter brackets attached to the canopy frame. Ensure that the gutter is securely seated on the brackets.
Enhance your outdoor living experience by adding a canopy to your deck. Our guide walks you through the process, enabling you to create a shaded retreat where you can relax and entertain comfortably, regardless of the weather conditions.
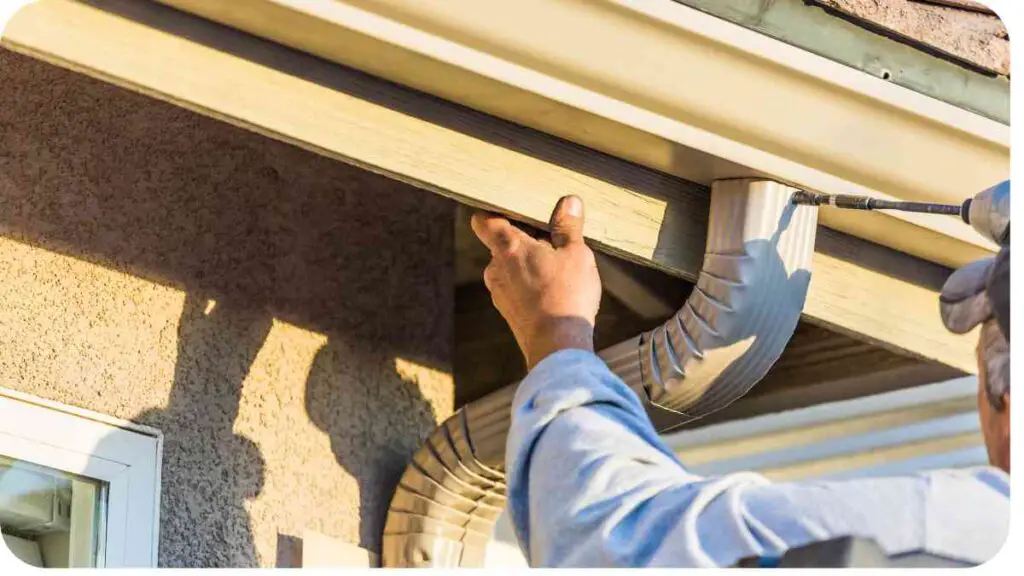
Step 2: Secure the Gutter:
- Use screws to secure the gutter to the brackets. Place screws through the pre-drilled holes in the gutter brackets and into the underside of the gutter.
Step 3: Check Alignment:
- Double-check the alignment of the gutter to ensure it is level and sloped towards the downspout. Make any necessary adjustments before fully securing the gutter.
Step 4: Tighten Screws:
- Once you’re satisfied with the alignment, go ahead and tighten all the screws to ensure the gutter is securely attached to the canopy frame.
Step 5: Seal Joints:
- Apply a bead of silicone sealant along the seams and joints of the gutter to prevent water leakage. Smooth out the sealant with a finger or caulk tool for a neat finish.
Step 6: Allow Sealant to Dry:
- Allow ample time for the silicone sealant to dry and cure fully before testing the gutter system with water.
Step 7: Test for Leaks:
- Pour water into the gutter system and check for any leaks or drips. If you notice any leaks, apply additional sealant as needed and retest.
Step 8: Make Final Adjustments:
- Once the sealant is dry and any leaks have been addressed, make any final adjustments to the gutter system as necessary. Ensure everything is secure and properly aligned.
By following these steps, you’ll have successfully attached the gutter to your canopy, completing the installation process.
Don’t let a small tear ruin your canopy’s functionality. Learn how to fix a hole in a canopy quickly and effectively with our step-by-step instructions. With the right approach, you can restore your canopy’s integrity and extend its lifespan with minimal effort.
8. Testing and Adjustments
Step 1: Water Test:
- Begin by conducting a thorough water test to ensure your gutter system functions properly. Use a hose or bucket to simulate rainfall and observe how water flows through the gutter.
Step 2: Check for Proper Drainage:
- Observe the flow of water through the gutter system. Ensure that water is flowing smoothly towards the downspout without any pooling or overflow.
Step 3: Adjust Slope if Necessary:
- If you notice any areas where water is pooling or not draining properly, adjust the slope of the gutter to improve drainage. Use shims or additional brackets to achieve the desired slope.
Step 4: Tighten Loose Fittings:
- Inspect all fittings, screws, and brackets for any signs of looseness. Tighten any loose fittings or screws to ensure everything is securely fastened.
Step 5: Test Again:
- Repeat the water test after making adjustments to ensure they have resolved any issues. Continue to make adjustments as needed until the gutter system is functioning optimally.
Step 6: Perform a Final Inspection:
- Once you’re satisfied with the performance of your DIY canopy rain gutter, perform a final inspection of the entire system. Check for any signs of leaks, damage, or instability.
Step 7: Clean Up:
- Remove any debris or excess sealant from the gutter system and surrounding area. Clean up your work area to ensure a neat and tidy finish.
Step 8: Enjoy Your Dry Outdoor Space:
- With your DIY canopy rain gutter successfully installed and tested, it’s time to sit back, relax, and enjoy your outdoor space, rain or shine!
By following these steps and performing thorough testing and adjustments, you’ll ensure that your DIY canopy rain gutter is working effectively to keep you dry during rainy days.
9. Maintenance Tips
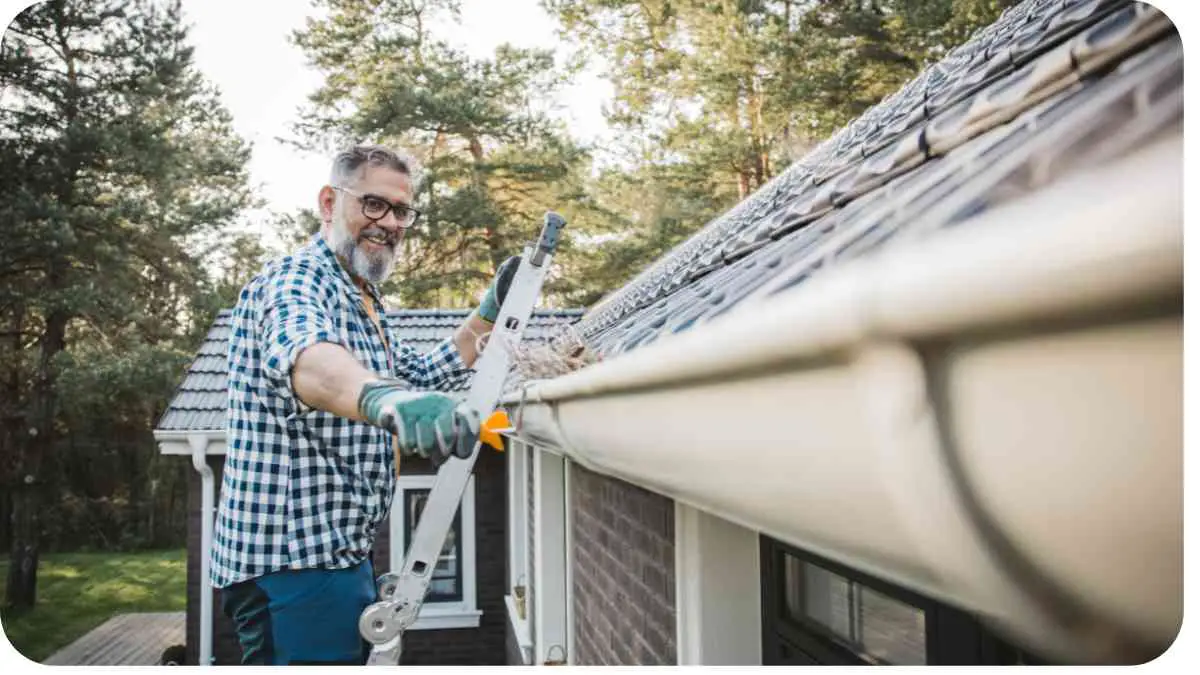
Regular Cleaning:
- Clean your gutter system regularly to remove leaves, debris, and other obstructions that can clog the gutters and downspouts. Use a gutter scoop or trowel to scoop out debris, and flush the gutters with water to ensure they’re clear.
Check for Damage:
- Inspect your gutter system periodically for signs of damage, such as cracks, leaks, or loose fittings. Address any issues promptly to prevent further damage and ensure optimal performance.
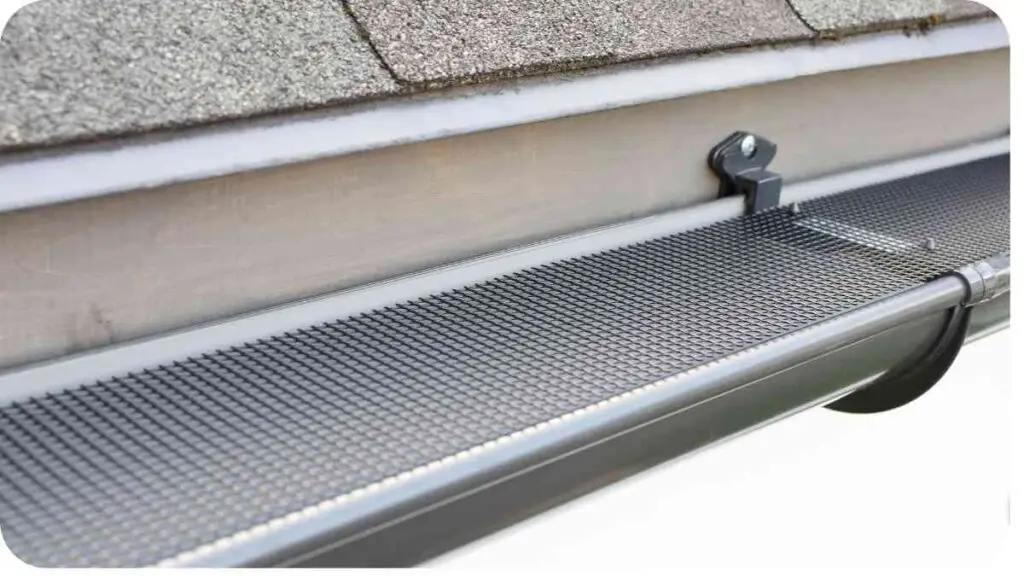
Trim Overhanging Branches:
- Trim back any overhanging branches that could potentially clog your gutters with leaves or debris. This will help reduce the amount of maintenance required and prolong the life of your gutter system.
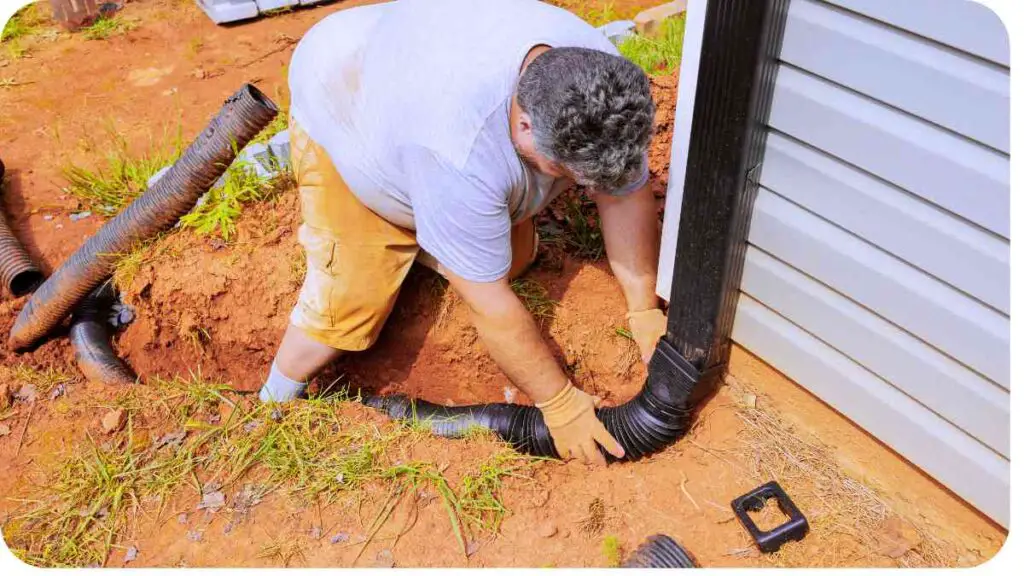
Monitor Downspouts:
- Keep an eye on your downspouts to ensure they’re clear and functioning properly. If you notice water pooling around the base of the downspout or flowing back up onto the roof, it may indicate a blockage that needs to be cleared.
Discover creative ways to drape a canopy and elevate your outdoor space. Whether you’re hosting a special event or simply seeking to add ambiance to your garden, our guide offers practical tips and techniques for achieving the perfect canopy arrangement.
Inspect Seals and Joints:
- Periodically inspect the seals and joints of your gutter system for signs of wear or deterioration. Replace any damaged seals or reapply sealant as needed to prevent leaks and ensure a watertight seal.
Address Rust and Corrosion:
- If you have metal gutters, check for signs of rust or corrosion, especially in areas with exposure to moisture. Use a wire brush to remove surface rust, and apply a rust-inhibiting primer and paint to protect the gutters from further corrosion.
Schedule Professional Inspection:
- Consider scheduling a professional gutter inspection and cleaning at least once a year, especially if you’re unable to perform maintenance tasks yourself. A professional can identify any potential issues and provide expert recommendations for maintenance and repairs.
By following these maintenance tips, you’ll ensure that your DIY canopy rain gutter remains in optimal condition, providing reliable protection against rain and keeping your outdoor space dry and comfortable.
10. Advantages of DIY Canopy Rain Gutter
Installing a DIY canopy rain gutter comes with several advantages that make it a practical and cost-effective solution for homeowners. Here are some key benefits:
| Advantages | Description |
|---|---|
| Cost Savings | DIY installation typically costs less than hiring a professional, saving you money on labor fees. |
| Customization | With a DIY approach, you have the flexibility to customize the gutter system to suit your needs. |
| Learning Experience | DIY projects provide valuable hands-on experience and knowledge that can be applied to future projects. |
| Sense of Accomplishment | Completing a DIY project gives a sense of pride and accomplishment, boosting confidence and satisfaction. |
| Immediate Availability of Materials | You can purchase materials for your DIY project at your convenience, without having to wait for a professional appointment. |
These advantages make DIY canopy rain gutter installation an attractive option for homeowners looking to improve their outdoor living spaces while saving money and gaining valuable skills.
11. Cost Comparison: DIY vs. Professional Installation
Understanding the cost difference between DIY installation and hiring a professional can help you decide which option is best for your budget and needs. Let’s break down the costs associated with each:
DIY Installation:
- Materials: The primary cost for DIY installation is materials, including PVC pipes, gutter sections, brackets, screws, and sealant. The total cost will vary depending on the size of your canopy and the quality of materials chosen.
- Tools: You may need to invest in or rent tools such as a saw, drill, level, and ladder if you don’t already own them. These upfront costs should be factored into your budget.
Professional Installation:
- Labor: The main expense with professional installation is labor. You’ll typically pay a flat fee or hourly rate for the installation, which can vary depending on your location and the complexity of the project.
- Materials Markup: Professionals may also markup the cost of materials, so you may end up paying more for the same materials compared to purchasing them yourself.
Cost Comparison Example:
- DIY: Let’s say the materials for your DIY canopy rain gutter cost around $200, and you spend an additional $100 on tools. Your total cost would be approximately $300.
- Professional: A professional installation for the same project might cost anywhere from $500 to $1000 or more, depending on factors such as labor rates and material markups.
Savings with DIY:
- In this example, opting for DIY installation could potentially save you hundreds of dollars compared to hiring a professional. However, it’s essential to weigh the cost savings against the time and effort required for DIY installation.
Ultimately, the decision between DIY and professional installation will depend on your budget, time availability, and comfort level with DIY projects. Consider your options carefully and choose the approach that best suits your needs.
12. Safety Precautions
While DIY projects can be rewarding, it’s crucial to prioritize safety to prevent accidents and injuries. Here are some essential safety precautions to keep in mind during your DIY canopy rain gutter installation:
Wear Protective Gear:
- Always wear appropriate protective gear, including safety goggles and gloves, to protect your eyes and hands from debris and sharp edges.
Use a Stable Ladder:
- When working at heights, use a sturdy and stable ladder to access the canopy and gutter system. Ensure the ladder is placed on a flat surface and secured properly to prevent falls.
Exercise Caution with Tools:
- Use tools and equipment safely and responsibly, following manufacturer guidelines and instructions. Keep blades and cutting tools away from your body and wear appropriate safety gear when using power tools.
Work with a Partner:
- Whenever possible, enlist the help of a friend or family member to assist with the installation. Having an extra set of hands can make the process safer and more manageable.
Avoid Working in Adverse Weather:
- Wait for suitable weather conditions before starting your DIY project. Avoid working in windy or rainy conditions, as this can increase the risk of accidents and make the installation process more challenging.
Take Breaks and Stay Hydrated:
- DIY projects can be physically demanding, so remember to take regular breaks and stay hydrated throughout the installation process. Listen to your body and avoid overexertion.
Follow Electrical Safety Guidelines:
- If your installation involves electrical components, such as outdoor lighting or power tools, ensure that you follow electrical safety guidelines and precautions to prevent shocks or fires.
Know Your Limits:
- Be realistic about your skills and capabilities when undertaking a DIY project. If you encounter tasks that are beyond your expertise, don’t hesitate to seek help from a professional.
By prioritizing safety and taking necessary precautions, you can minimize the risk of accidents and injuries during your DIY canopy rain gutter installation.
13. Frequently Asked Questions (FAQs)
Here are some common questions and concerns that homeowners may have about DIY canopy rain gutter installation:
Q1: Is DIY canopy rain gutter installation difficult?
DIY canopy rain gutter installation can vary in complexity depending on factors such as the size and design of your canopy, as well as your level of experience with DIY projects. While it may require some time and effort, following a step-by-step guide and taking necessary precautions can make the process manageable for most homeowners.
Q2: How long does it take to install a DIY canopy rain gutter?
The time required to install a DIY canopy rain gutter can vary depending on factors such as the size of your canopy, the complexity of the installation, and your level of experience. In general, you can expect the installation process to take anywhere from a few hours to a full day.
Q3: What tools do I need for DIY canopy rain gutter installation?
Some essential tools for DIY canopy rain gutter installation include a saw (PVC or hacksaw), drill, level, measuring tape, ladder, safety goggles, and gloves. Depending on your specific project requirements, you may also need additional tools such as a caulking gun, pipe cutter, or screwdriver.
Q4: Can I install a canopy rain gutter on any type of canopy?
While canopy rain gutters are suitable for most types of canopies, it’s essential to consider factors such as the material and design of your canopy when planning your installation. Freestanding canopies, pergolas, and attached structures can all accommodate canopy rain gutters with the proper planning and installation techniques.
Q5: How often do I need to maintain my DIY canopy rain gutter?
Regular maintenance is key to ensuring the optimal performance and longevity of your DIY canopy rain gutter. Plan to inspect and clean your gutter system at least twice a year, especially before the rainy season and after heavy storms. Additionally, address any issues such as leaks or damage promptly to prevent further damage.
Q6: Can I paint my DIY canopy rain gutter to match my canopy?
Yes, you can paint your DIY canopy rain gutter to match your canopy or outdoor décor. Choose a paint color that complements your canopy and ensure that you use a paint suitable for outdoor use and compatible with the gutter material.
By addressing these common questions and concerns, homeowners can feel more confident about undertaking a DIY canopy rain gutter installation project.
14. Conclusion
Congratulations on completing our comprehensive guide to DIY canopy rain gutter installation! By following the step-by-step tutorial, you’ve learned how to design, measure, and install a rain gutter system for your canopy, providing reliable protection against rain and keeping your outdoor space dry and comfortable.
Throughout this guide, we’ve highlighted the many benefits of DIY canopy rain gutter installation, including cost savings, customization options, and the satisfaction of completing a hands-on project. Whether you’re a seasoned DIY enthusiast or tackling your first home improvement project, installing a canopy rain gutter is a rewarding endeavor that can enhance the functionality and aesthetics of your outdoor living space.
Remember to prioritize safety at all times, follow manufacturer guidelines and instructions, and take necessary precautions to prevent accidents and injuries during the installation process. Regular maintenance and inspections will help ensure that your DIY canopy rain gutter remains in optimal condition, providing reliable performance for years to come.
We hope this guide has empowered you to take on your DIY canopy rain gutter installation with confidence and success. Enjoy your dry outdoor space, rain or shine!
Thank you for choosing our guide, and happy DIY-ing!
Further Reading
Here are some additional resources for further reading on DIY canopy rain gutters:
- Anika’s DIY Life – Rain Gutter Bookshelves: Explore creative uses of rain gutters in home projects.
- This Old House – How to Install Rain Gutters: Learn step-by-step instructions for installing rain gutters professionally.
- Instant Promotion – Canopy Gutter System: Discover pre-made canopy gutter systems for easy installation.
FAQs
How do I measure for a DIY canopy rain gutter?
To measure for a DIY canopy rain gutter, first, determine the length of your canopy where you want to install the gutter. Use a measuring tape to measure the distance accurately.
What materials do I need for a DIY canopy rain gutter?
You will need PVC pipes, connectors, adhesive, a canopy rain gutter kit, a measuring tape, a saw, a drill, screws, and waterproof sealant.
How do I attach the rain gutter to my canopy?
You can attach the rain gutter to your canopy using screws or adhesive, following the manufacturer’s instructions for installation.
How do I ensure proper drainage with my DIY canopy rain gutter?
To ensure proper drainage, make sure the rain gutter is sloped slightly downward towards the designated drainage area to allow water to flow freely.
What maintenance is required for a DIY canopy rain gutter?
Regular maintenance tasks include cleaning debris from the gutter, inspecting for damage, checking seals and joints, and clearing any clogs as needed.

I am Hellen James, a professional handywoman with expertise in improving home and garden spaces by using pergolas, gazebos, and tents.
