As the demand for sleek and modern entertainment setups continues to rise, wall-mounted TVs have become a staple in many households. However, to achieve a seamless and clutter-free look, it’s essential to install an electrical outlet specifically designed for these devices.
In this step-by-step guide, we’ll walk you through the process of adding an electrical outlet for wall-mounted TVs, ensuring safety, aesthetics, and functionality.
| Takeaways |
|---|
| 1. Prioritize safety: Always turn off the power and use safety measures during installation to prevent accidents. |
| 2. Assess electrical needs: Calculate power requirements and check existing circuits to ensure they can support the additional load. |
| 3. Gather the right tools and materials: Have a complete set of tools and materials to make the installation process smoother. |
| 4. Choose an ideal placement: Consider viewing angles and accessibility when deciding where to install the electrical outlet. |
| 5. Proper wiring is key: Follow manufacturer instructions for wiring the outlet and ensure proper grounding for safety. |
| 6. Test before closing up: Use a voltage tester to ensure the outlet has power and verify proper grounding before closing up the wall. |
| 7. Conceal wiring for aesthetics: Use cable management solutions to achieve a clean and polished look for your wall-mounted TV setup. |
| 8. Troubleshoot common issues: Be prepared to troubleshoot issues like no power or tripped circuits, and seek professional help if needed. |
| 9. Explore further resources: Check out additional guides and tutorials from reputable sources for more insights on TV outlet installations. |
2. Importance of Proper Outlet Installation
2.1 Ensuring Safety
When dealing with electrical work, safety should always be the top priority. Properly installed outlets reduce the risk of electrical fires and ensure a secure environment for your family and home.
Secure your TV with confidence using these strong drywall anchors, ensuring a stable and safe wall-mounted setup for your entertainment hub.
2.2 Avoiding Overloading Circuits
Wall TVs often come with various peripherals like gaming consoles and sound systems. Adding a dedicated outlet prevents circuit overloads, safeguarding your electronics from potential damage.
2.3 Improving Aesthetics
Concealing wires and having a designated outlet enhances the overall appearance of your entertainment area, creating a polished and organized look.
Transform your outdoor TV experience by beautifully illuminating your gazebo space with energy-efficient LED lighting, creating an inviting and visually appealing entertainment area.
3. Assessing Electrical Needs
3.1 Determining Power Requirements
Before starting the installation, calculate the power needs of your TV and connected devices. This ensures that the new outlet can handle the electrical load without issues.
3.2 Checking Existing Circuits
Evaluate your home’s existing electrical circuits to determine if they can support the additional load. If necessary, consult with a professional electrician for advice.
4. Gathering Tools and Materials
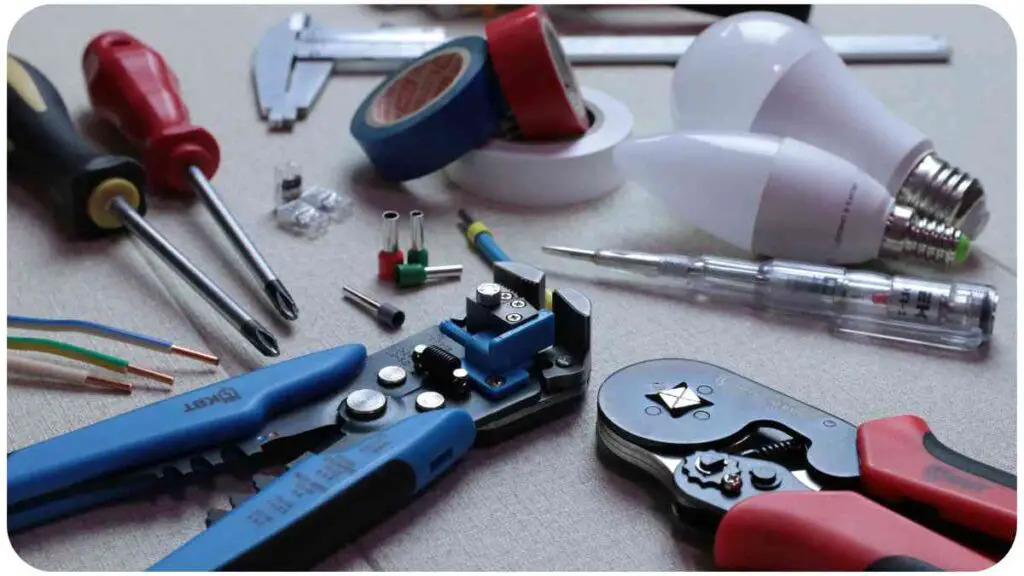
4.1 Tools
- Screwdriver set
- Wire stripper
- Voltage tester
- Drill
- Fish tape
Overcome challenges when securing a Lowes pergola on grass, ensuring a stable and level foundation for your outdoor TV setup on uneven terrain.
4.2 Materials
- Electrical cable
- Electrical box
- Wall plate
- Cable clips
- Screws and anchors
5. Locating the Ideal Placement
5.1 Considering Viewing Angles
Determine the optimal height and location for your TV, considering comfortable viewing angles from various seating positions.
5.2 Ensuring Accessibility
Choose a location that allows easy access to the outlet for future maintenance or upgrades.
Explore a comprehensive DIY guide for installing freestanding patio covers to create a versatile outdoor space, perfect for enhancing your TV viewing experience.
6. Turning Off Power
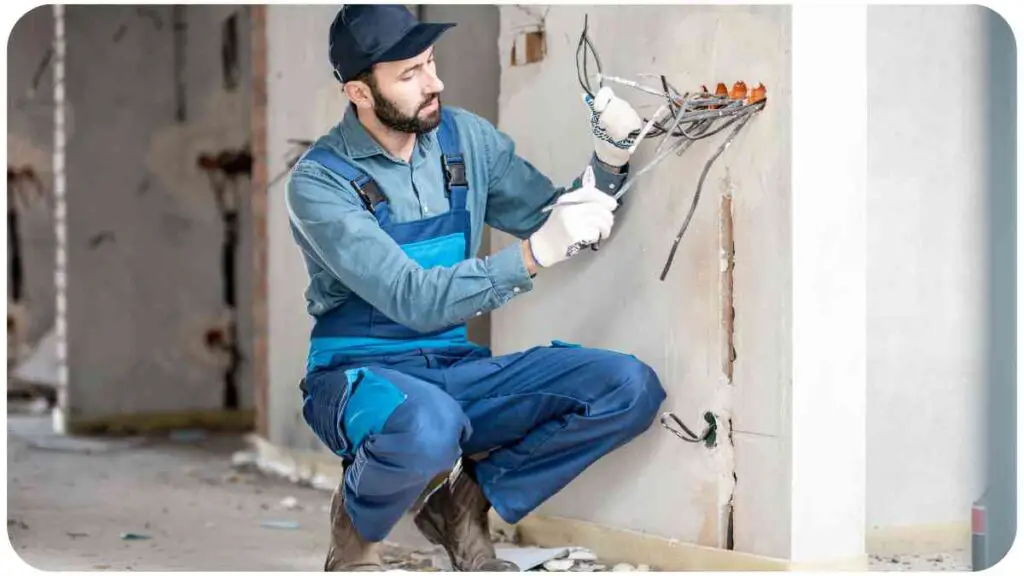
6.1 Safety Precautions
Before starting any work, turn off the power to the designated circuit at the main electrical panel. Use a voltage tester to confirm that the power is off.
6.2 Identifying the Correct Circuit
Identify and label the correct circuit to avoid accidental power restoration during the installation process.
7. Running New Wiring
7.1 Choosing the Right Cable Type
Select an electrical cable suitable for the installation. Consider factors such as cable length, thickness, and whether it meets local electrical codes.
Incorporate quick and effective DIY fixes for cracked or broken windows to maintain the integrity of your home, ensuring a secure environment for your wall-mounted TV.
7.2 Routing the Cable
Carefully run the cable from the main electrical panel to the location of the new outlet. Use fish tape to guide the cable through walls or ceilings, ensuring a clean and concealed installation.
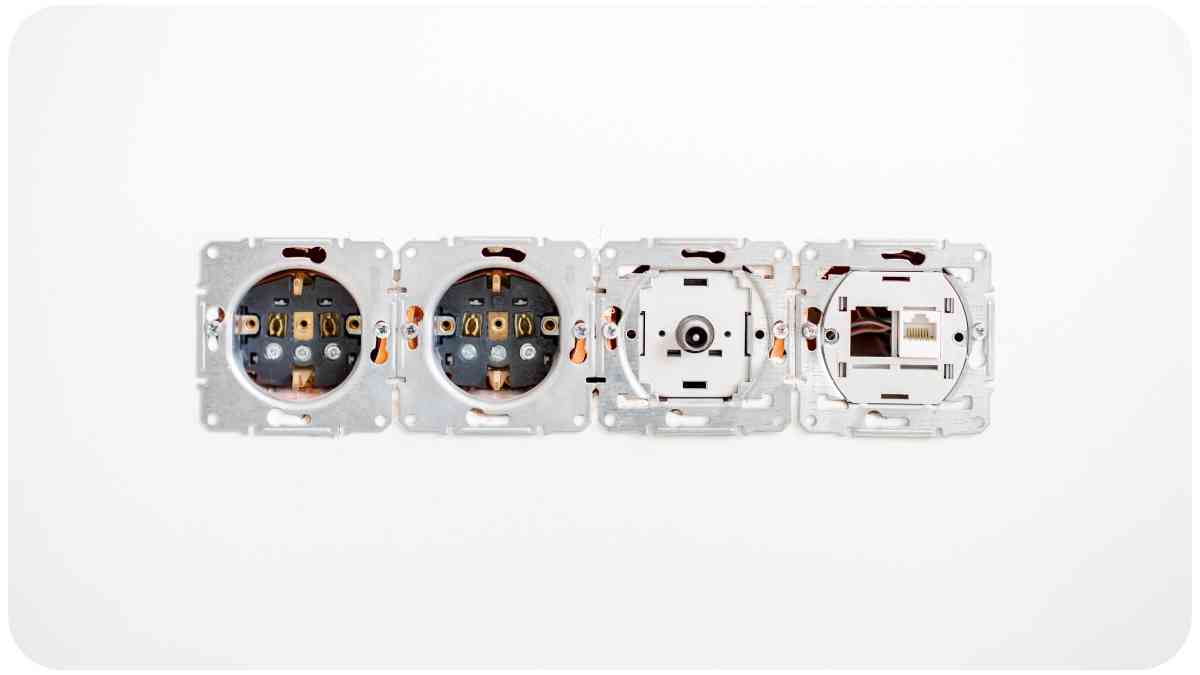
8. Installing the Electrical Box
8.1 Selecting the Appropriate Box
Choose an electrical box that meets code requirements and fits the cable type. Ensure it provides enough space for wire connections and allows for a secure mounting.
8.2 Mounting the Box
Securely mount the electrical box at the chosen location using screws and anchors. Ensure it is level and flush with the wall for a professional finish.
9. Connecting the Outlet
9.1 Wiring the Outlet
Follow the manufacturer’s instructions to connect the wires to the outlet. Typically, this involves attaching the hot (black), neutral (white), and ground (green or bare) wires to their respective terminals.
9.2 Grounding the System
Proper grounding is crucial for safety. Connect the grounding wire securely to the outlet and ensure it’s bonded to the electrical box.
10. Securing the Wiring
10.1 Using Cable Clips
Secure the wiring to the wall using cable clips, keeping it neat and preventing sagging. Ensure the cable is not pinched or crimped during this process.
10.2 Avoiding Obstructions
Be mindful of potential obstructions behind the wall, such as studs or pipes, when securing the wiring. Adjust the route if necessary to avoid these obstacles.
11. Testing the Outlet
11.1 Using a Voltage Tester
Before closing up the wall, use a voltage tester to ensure the outlet has power. Confirm that the wiring is correctly connected and that there are no issues with the circuit.
11.2 Verifying Proper Grounding
Check the grounding by using a multimeter or a receptacle tester. Proper grounding is essential for the safety of your electrical system.
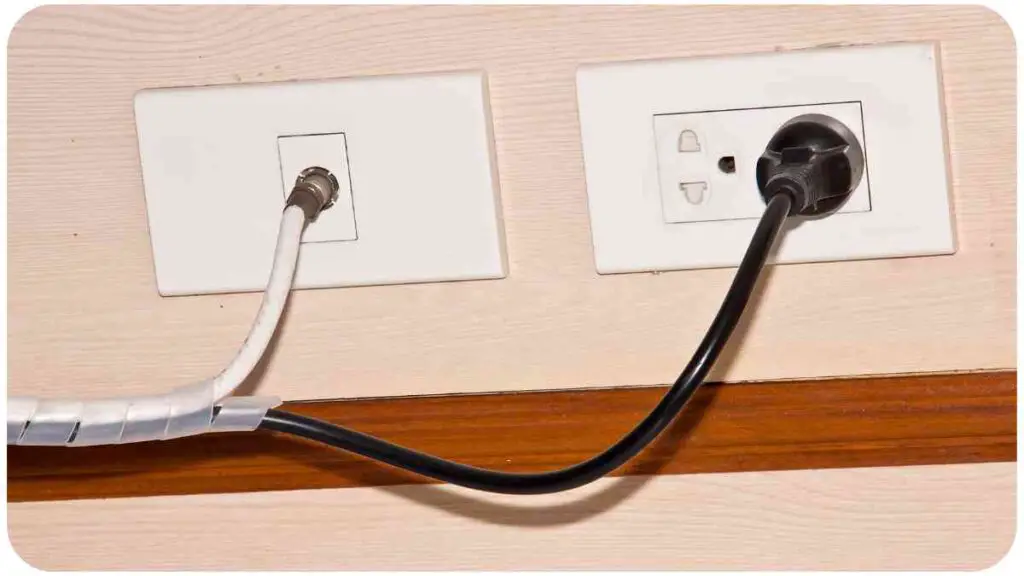
12. Concealing Wiring
12.1 Using Cable Management Solutions
For a clean and polished look, consider using cable management solutions such as conduit or raceways to conceal the wiring along the wall.
12.2 Blending with Wall Decor
Choose wall plates and cable management solutions that match your wall decor, ensuring a seamless integration with the overall aesthetics.
13. Troubleshooting Tips
13.1 Common Installation Issues
- No Power: If the outlet has no power, double-check the wiring connections and ensure the circuit breaker is on.
- Tripped Circuit: In case of a tripped circuit, investigate potential overloads and redistribute the load if necessary.
- Faulty Wiring: If the outlet is not working, inspect the wiring for any damage or loose connections.
13.2 Seeking Professional Help
If you encounter challenges beyond your expertise, it’s advisable to seek the assistance of a licensed electrician. Electrical work involves potential hazards, and professional help ensures a safe and compliant installation.
14. Frequently Asked Questions (FAQs)
14.1 Can I use an existing outlet for my wall TV?
Yes, you can use an existing outlet if it meets the power requirements of your TV and associated devices. However, adding a dedicated outlet is recommended for optimal safety and performance.
14.2 What tools do I need for the installation?
The tools you’ll need include a screwdriver set, wire stripper, voltage tester, drill, and fish tape. Additionally, gather materials such as electrical cable, an electrical box, wall plate, cable clips, screws, and anchors.
15. Conclusion
In conclusion, adding an electrical outlet for wall-mounted TVs is a manageable DIY project that enhances safety, aesthetics, and functionality. By following these step-by-step instructions and considering the importance of safety measures, you can create a clean and professional-looking setup for your entertainment area.
Remember to assess your electrical needs, gather the necessary tools and materials, choose an ideal placement, and follow each step diligently. Troubleshoot any issues that may arise and, when in doubt, consult with a professional electrician for a seamless and secure installation.
With this guide, you’ll not only achieve a well-powered and organized TV setup but also gain the satisfaction of a successful DIY electrical project. Enjoy your newly installed wall TV outlet!
Further Reading
- Money Pit: How to Add an Outlet for a Wall-Mounted TV: A comprehensive guide with detailed steps on adding an electrical outlet for your wall-mounted TV. The article provides valuable insights and tips for a successful installation.
- Instructables: Retro Fit an Outlet Behind a Wall-Mounted TV: Learn how to retro fit an outlet behind a wall-mounted TV with this detailed Instructables tutorial. The step-by-step instructions make it easy to follow and execute the installation.
- PlanItDIY: Adding an Electrical Outlet for TV Hook-Up (Part 2): Part 2 of the PlanItDIY series provides additional insights into adding an electrical outlet for TV hook-up. This resource covers specific considerations for a successful TV installation.
FAQs
Can I use my existing outlet for a wall-mounted TV?
Yes, you can use an existing outlet if it meets the power requirements of your TV and associated devices. However, adding a dedicated outlet is recommended for optimal safety and performance.
What tools do I need for the TV outlet installation?
Gather essential tools such as a screwdriver set, wire stripper, voltage tester, drill, and fish tape. Additionally, you’ll need materials like electrical cable, an electrical box, wall plate, cable clips, screws, and anchors.
How do I troubleshoot common installation issues?
If you face issues like no power or a tripped circuit, double-check wiring connections and the circuit breaker. For faulty wiring, inspect for damage or loose connections. Seeking professional help is advisable for complex problems.
Can I conceal the wiring for a cleaner look?
Yes, use cable management solutions like conduit or raceways to conceal wiring along the wall. Choose options that match your wall decor for a seamless integration.
Is it necessary to turn off the power during installation?
Yes, it’s crucial to turn off the power to the designated circuit at the main electrical panel before starting any work. Use a voltage tester to confirm power is off for safety.

I am Hellen James, a professional handywoman with expertise in improving home and garden spaces by using pergolas, gazebos, and tents.
